So, a few weeks ago, I had to go run an errand up north, and knew I had to stop by Michael’s while I was nearby. I rarely go to Michael’s anymore, because it’s much farther away than Joann’s, but I do like that Michael’s has more crafting items, since they don’t also focus on fabrics.
Anyway, I saw this fall garland I quite liked, but didn’t want to pay $7.99 (plus 10% tax) on 6 feet of garland that was half as long as I needed for my staircase banister.
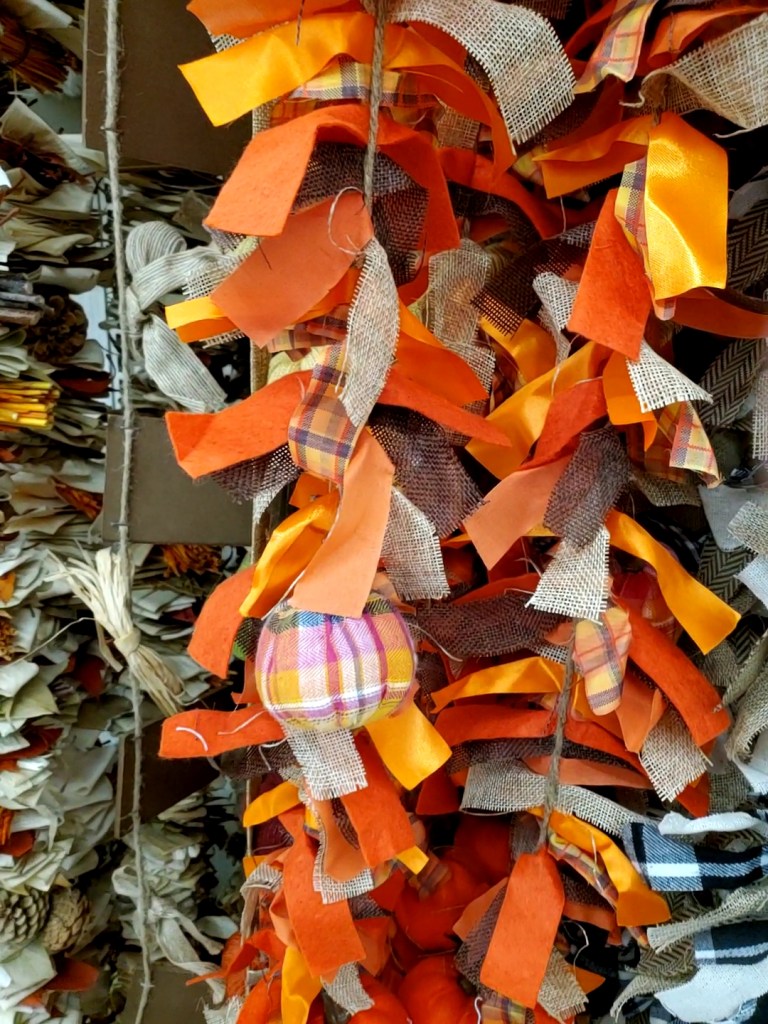

I really liked the combination of colors – orange, pink, purple. But if you look at where the strips of cloth are on the twine, it appears that they’re just glued on. I saw that and thought to myself, “I can make this even better!”
So a week or so later, I went to Joann’s, knowing they’d have a great ribbon selection, and set to task finding the right ribbon for my new craft.

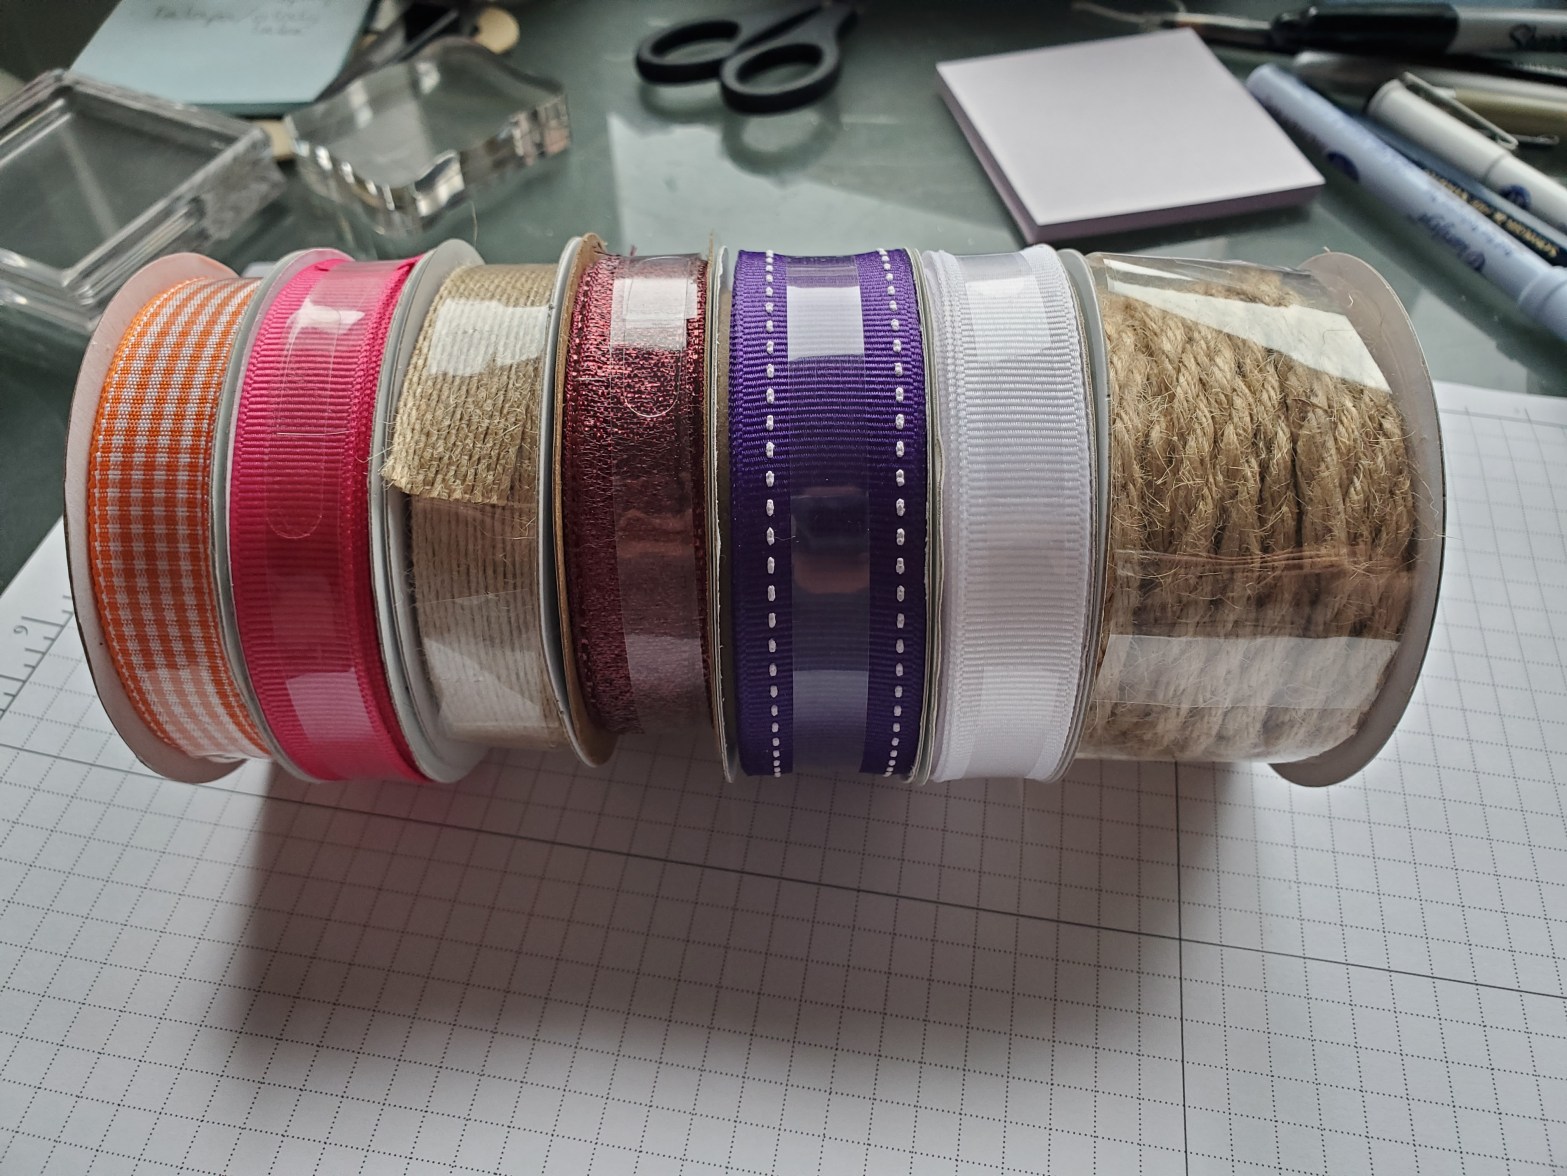
I got 12 feet of twine for the length of my garland, and got a variety of ribbon that I thought worked well together. I added a sort of sparkly maroon ribbon because I love a little sparkle to things. :) I always wrap some garland and lights around my banister for the holiday season (changing it up for December/January), so I thought some sparkly would go well with the lights I have.
Now I’ll walk through what I did, but this is SO easy, you can really play around with it and make whatever suits your fancy, adding other things that you think will work well, such as ornaments or baubles.
What I did first, was get comfortable on my couch with the ribbon, a measuring tape, and some fabric scissors. I do recommend sharp fabric scissors. For those of you who don’t sew, fabric scissors are basically just sharp shears you ONLY use for fabric. No metal, paper, plastic, food, etc. You don’t have to use super-expensive ones from the fabric store, but it’s good if they have some weight to them. If you don’t have fabric scissors, you’ll probably be fine, but if they’re not very sharp, you will have a tough time getting through the ribbon without fraying the fabric. You want a sharp, clean cut.

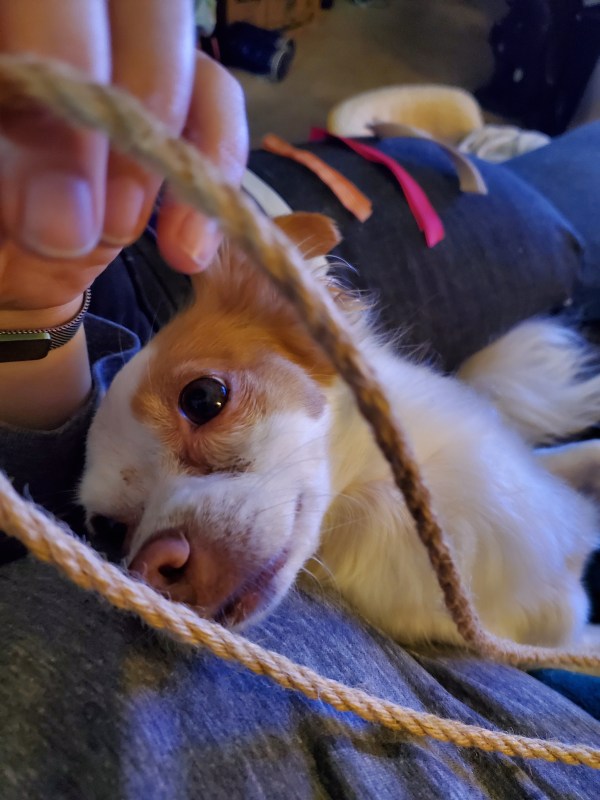
Second, I unraveled my twine, and put knot at one end like shown above. I’m not really worried any of the ribbons will fall off, but since they’ll only be secured by their own knot around the twine, and this garland will live in a box of decorations, it can never hurt to add a knot on the end.
Next, I took a look at my various ribbons. I could have thought more about this step at the store, but I’m also one to kind of wing a few details when starting a project I’m fairly confident about. If you make a mistake, you learn from it, right?
Each spool of ribbon was a slightly different length. The orange gingham, sparkly maroon, and the purple stitched ribbons were all 9 feet long. The burlap-type ribbon was 12 feet, and the pink and white ribbons were 21 feet. I pulled out some of the pink ribbon to sort of eyeball how long I thought the ribbon needed to be (with the knot) to get the look I wanted. I determined about 7 inches was what I wanted, but I wasn’t sure if the shorter spools would last the length of the twine. I played around with the numbers on my phone, and determined that if there were two cuts of each ribbon per foot, the shorter spools could be cut at 6.5 inches without compromising the look or worrying too much about not having enough ribbon. This became a little tricky with the purple stitched ribbon, because it’s wider than the others, it comes out a little shorter than the others once tied around the twine. It’s not a huge difference – maybe half an inch, but it’s barely noticeable. The orange and maroon ribbon actually tied tightly enough that it stretched a bit to come out to the same fullness as the other ribbon.
I’m sorry I don’t have more progress photos – they didn’t all turn out very well.

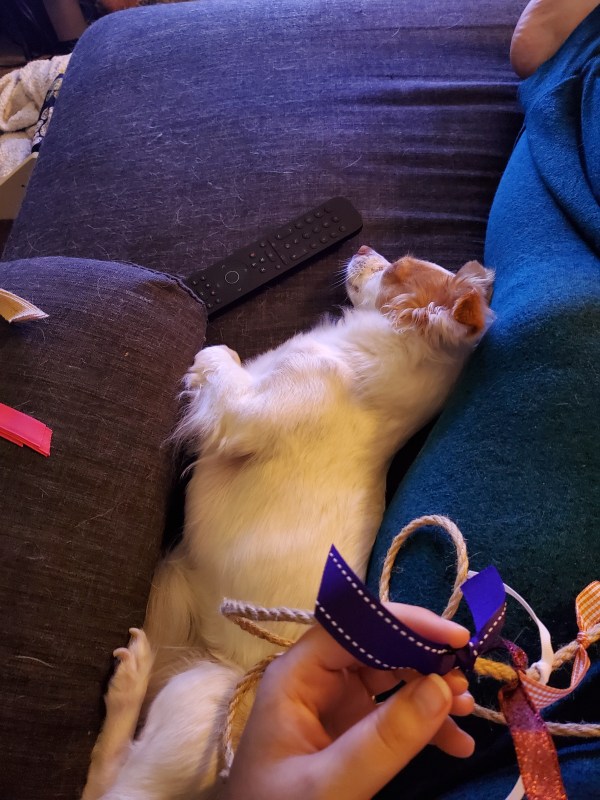
As you can see, there’s roughly an inch or so between each ribbon. The great thing about tying it in knots around the twine is that you can make adjustments as you go along. I’m pretty good at eyeballing things, but if you’re not, feel free to take the length of your main twine, and use a tape measure and a Sharpie to mark where you want to put the ribbons.
I cut each length of ribbon at an angle, to give it a nicer end. I actually wound up with a lot of extra ribbon I can use for other projects! Not as much of the shorter spools, of course – only about 7 inches, but enough to add to a card or around some candy or gift.
All in all, this project didn’t take that long – I think I did it over a couple of hours – I also got up to make some food, take the dogs out, etc. But so easy to do while watching TV or in between other priorities.
If you’d like to know what specific ribbon I got, here’s the list:
- Twine – Decorative Ribbon by Joann’s, 6 mm x 12 feet
- “burlap” – Decorative Ribbon by Joann’s, 5/8 inch x 12 feet
- Pink grossgrain – Offray, 5/8 inch x 21 feet
- White grossgrain – Offray, 5/8 inch x 21 feet
- Orange gingham – Offray, 5/8 inch x 9 feet
- Purple stitched – Offray, 7/8 inch x 9 feet
- Maroon sparkly, Offray, 5/8 inch x 9 feet
The reason the purple stitched is a bit wider, is that I couldn’t find the same shade of purple with the stitching in a smaller width. I could have gotten the same color that is the same type of ribbon (grossgrain) as the pink and white, but I really wanted it to be a bit different, and not all be so SAMEY. If ya know what I mean. :D


I really love how it turned out. It could be a little more “fluffy”, I suppose, but I do like how simple it is. I don’t expect it to fray too much, and if it does, I can always use some fray stop liquid or clear nail polish to stop it for getting too bad. But fraying might work well for this kind of garland, because it will add to the charm. If/when I move, I can probably do some really fun stuff with it, depending on my set up. ALSO – it’s exactly the right length! It goes from one end of the banister to the other, wrapping around, which makes me so happy. All the other fake leaf garlands I have are too short, so I have to pin them or use the lights to help keep them together and have them not fall down, because I can’t even twist them around. lol. I think this garland will even go with the orange and brown ribbon I normally put up.
And, my favorite feature of my set up – this set of lights I picked up a few years ago can switch from orange – to PURPLE! This means I don’t need to re-string up any lights between Autumn (September), Halloween (October), and Thanksgiving (November). I can just switch them back and forth!


I mean, either orange or purple you can use for Halloween, but purple is more spooOOOoooky, lol, and goes well with some green-lit trees I have, which I actually need to fix, because the lights don’t work anymore. D:
I apologize for no full photos of my banister. The garland looks great! But my apartment is a total mess right now. We’re purging some items, and dealing with a meal moth problem in our pantry, so there’s boxes of food all over the place. lol. It’s been a nightmare since January. They’re so hard to get rid of. But I think I’m getting close. *fingers crossed* The good thing about it is that it’s forced me to put my sugar, flour, and grains into better containers, which I’ve wanted to do forever.
The very last thing I wanted to share with you, is that the only way that doing this myself was worth it, is because I got a lot of the supplies on sale. I even actually spent a tiny bit more than if I had bought two of the Michael’s garland, but only a few dollars. If we take the original Michael’s garland, at $7.99/6 feet (plus tax), we get about $17.58 for two garlands (enough to cover my banister).
The way to make it worth it was: Joann’s was having a big store-wide sale, making Offray ribbons buy three, get two free, AND I had a 60% off coupon for one full-priced item. So this is the breakdown:
- Twine: Original price: $4.99, with 60% off: $2.99
- “burlap”: $2.99
- Pink: Original price: $3.99, sale price: FREE
- White: $3.99
- Purple: $5.99
- Orange: $3.99
- Maroon: Original Price: $3.99, sale price: FREE
Total spent (with tax): about $21.95. So a little more expensive, but worth it to make something I love that I can customize as much as I want, and is all in one piece. And, honestly, I can use any time of year. I’m also not worried about it falling apart after a few years.
Have you ever decided to make something your own to replicate something you saw in a store? I take pictures of decor all the time, hoping to make it myself, but cheaper or better. I might even make one of these for Yule! Tell me about your fun copycat projects!
Keep it Crafty!
– Raven
