
I couldn’t help myself on the title. If you don’t get it…uh… Well, I don’t want to spoil it. You’ll figure it out really quick. :)
American Thanksgiving is right around the corner, and there’s at least two main dishes that almost everyone associates with this holiday. Turkey and Pumpkin Pie. Everyone has their own take on the rest of the sides, or how much whipped cream goes on a slice of pie (the answer is: a lot), but most people don’t make their pies from scratch. And that’s okay! Sometimes I don’t make things from scratch either. But if you’ve always wanted to make a scrumptious pie from scratch – pumpkin pie is a really easy and great one to start with!
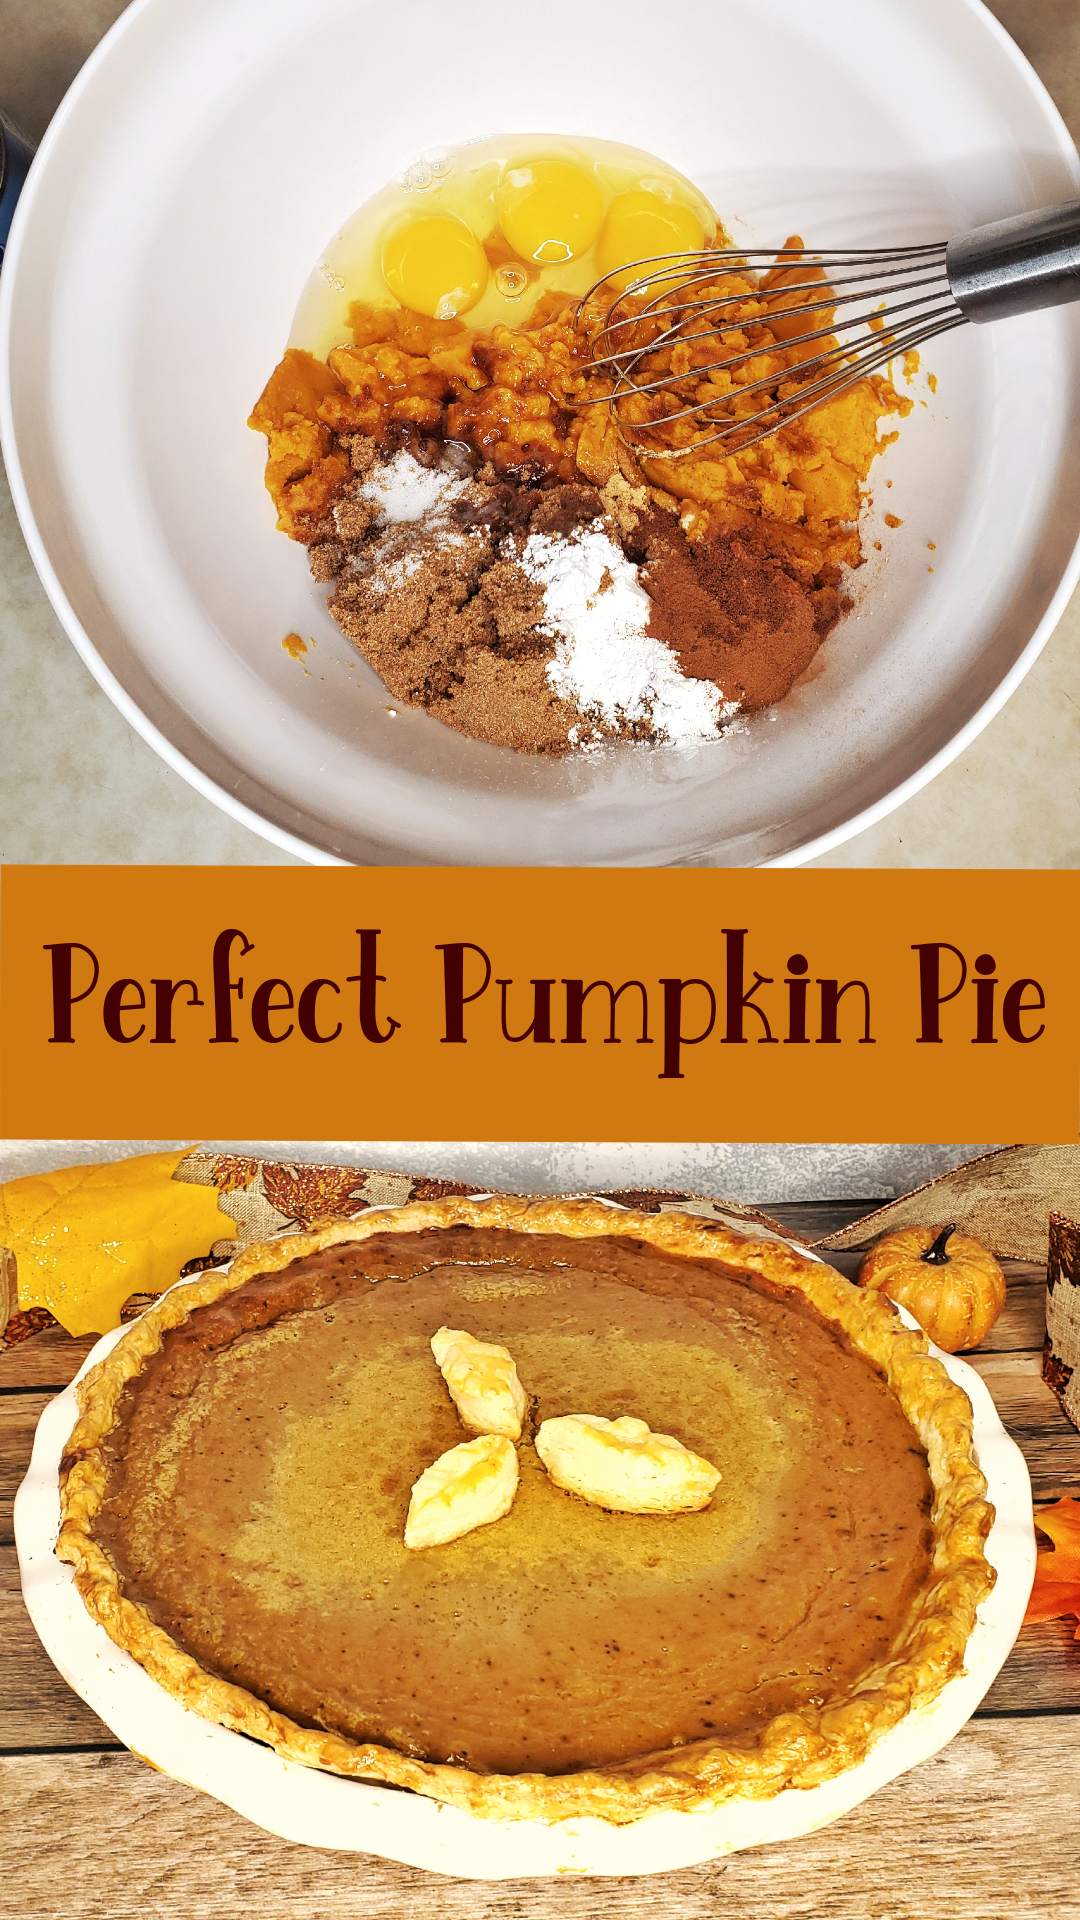
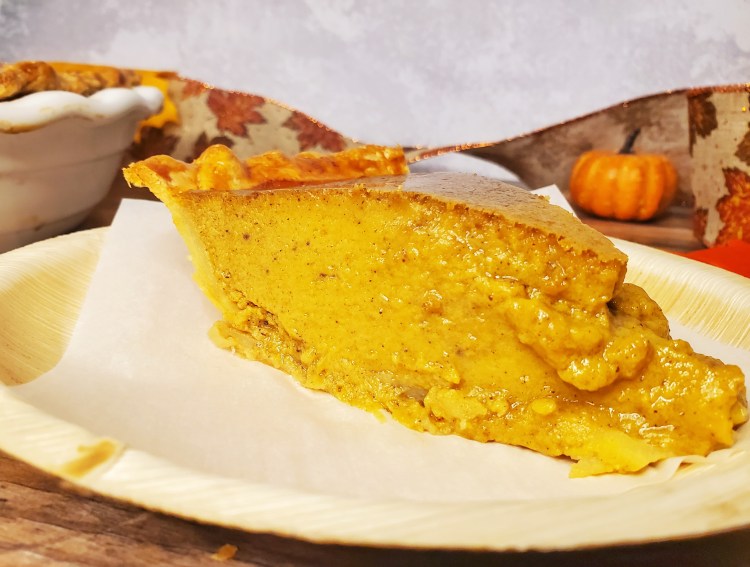
It’s essentially a custard pie, but with fruit puree. The reason this recipe is so easy, is it can get even easier if you don’t make the crust, or used canned pumpkin puree. In the pictures, I’m using canned puree, but I’ve also made this with fresh pumpkin, and it’s worked great!
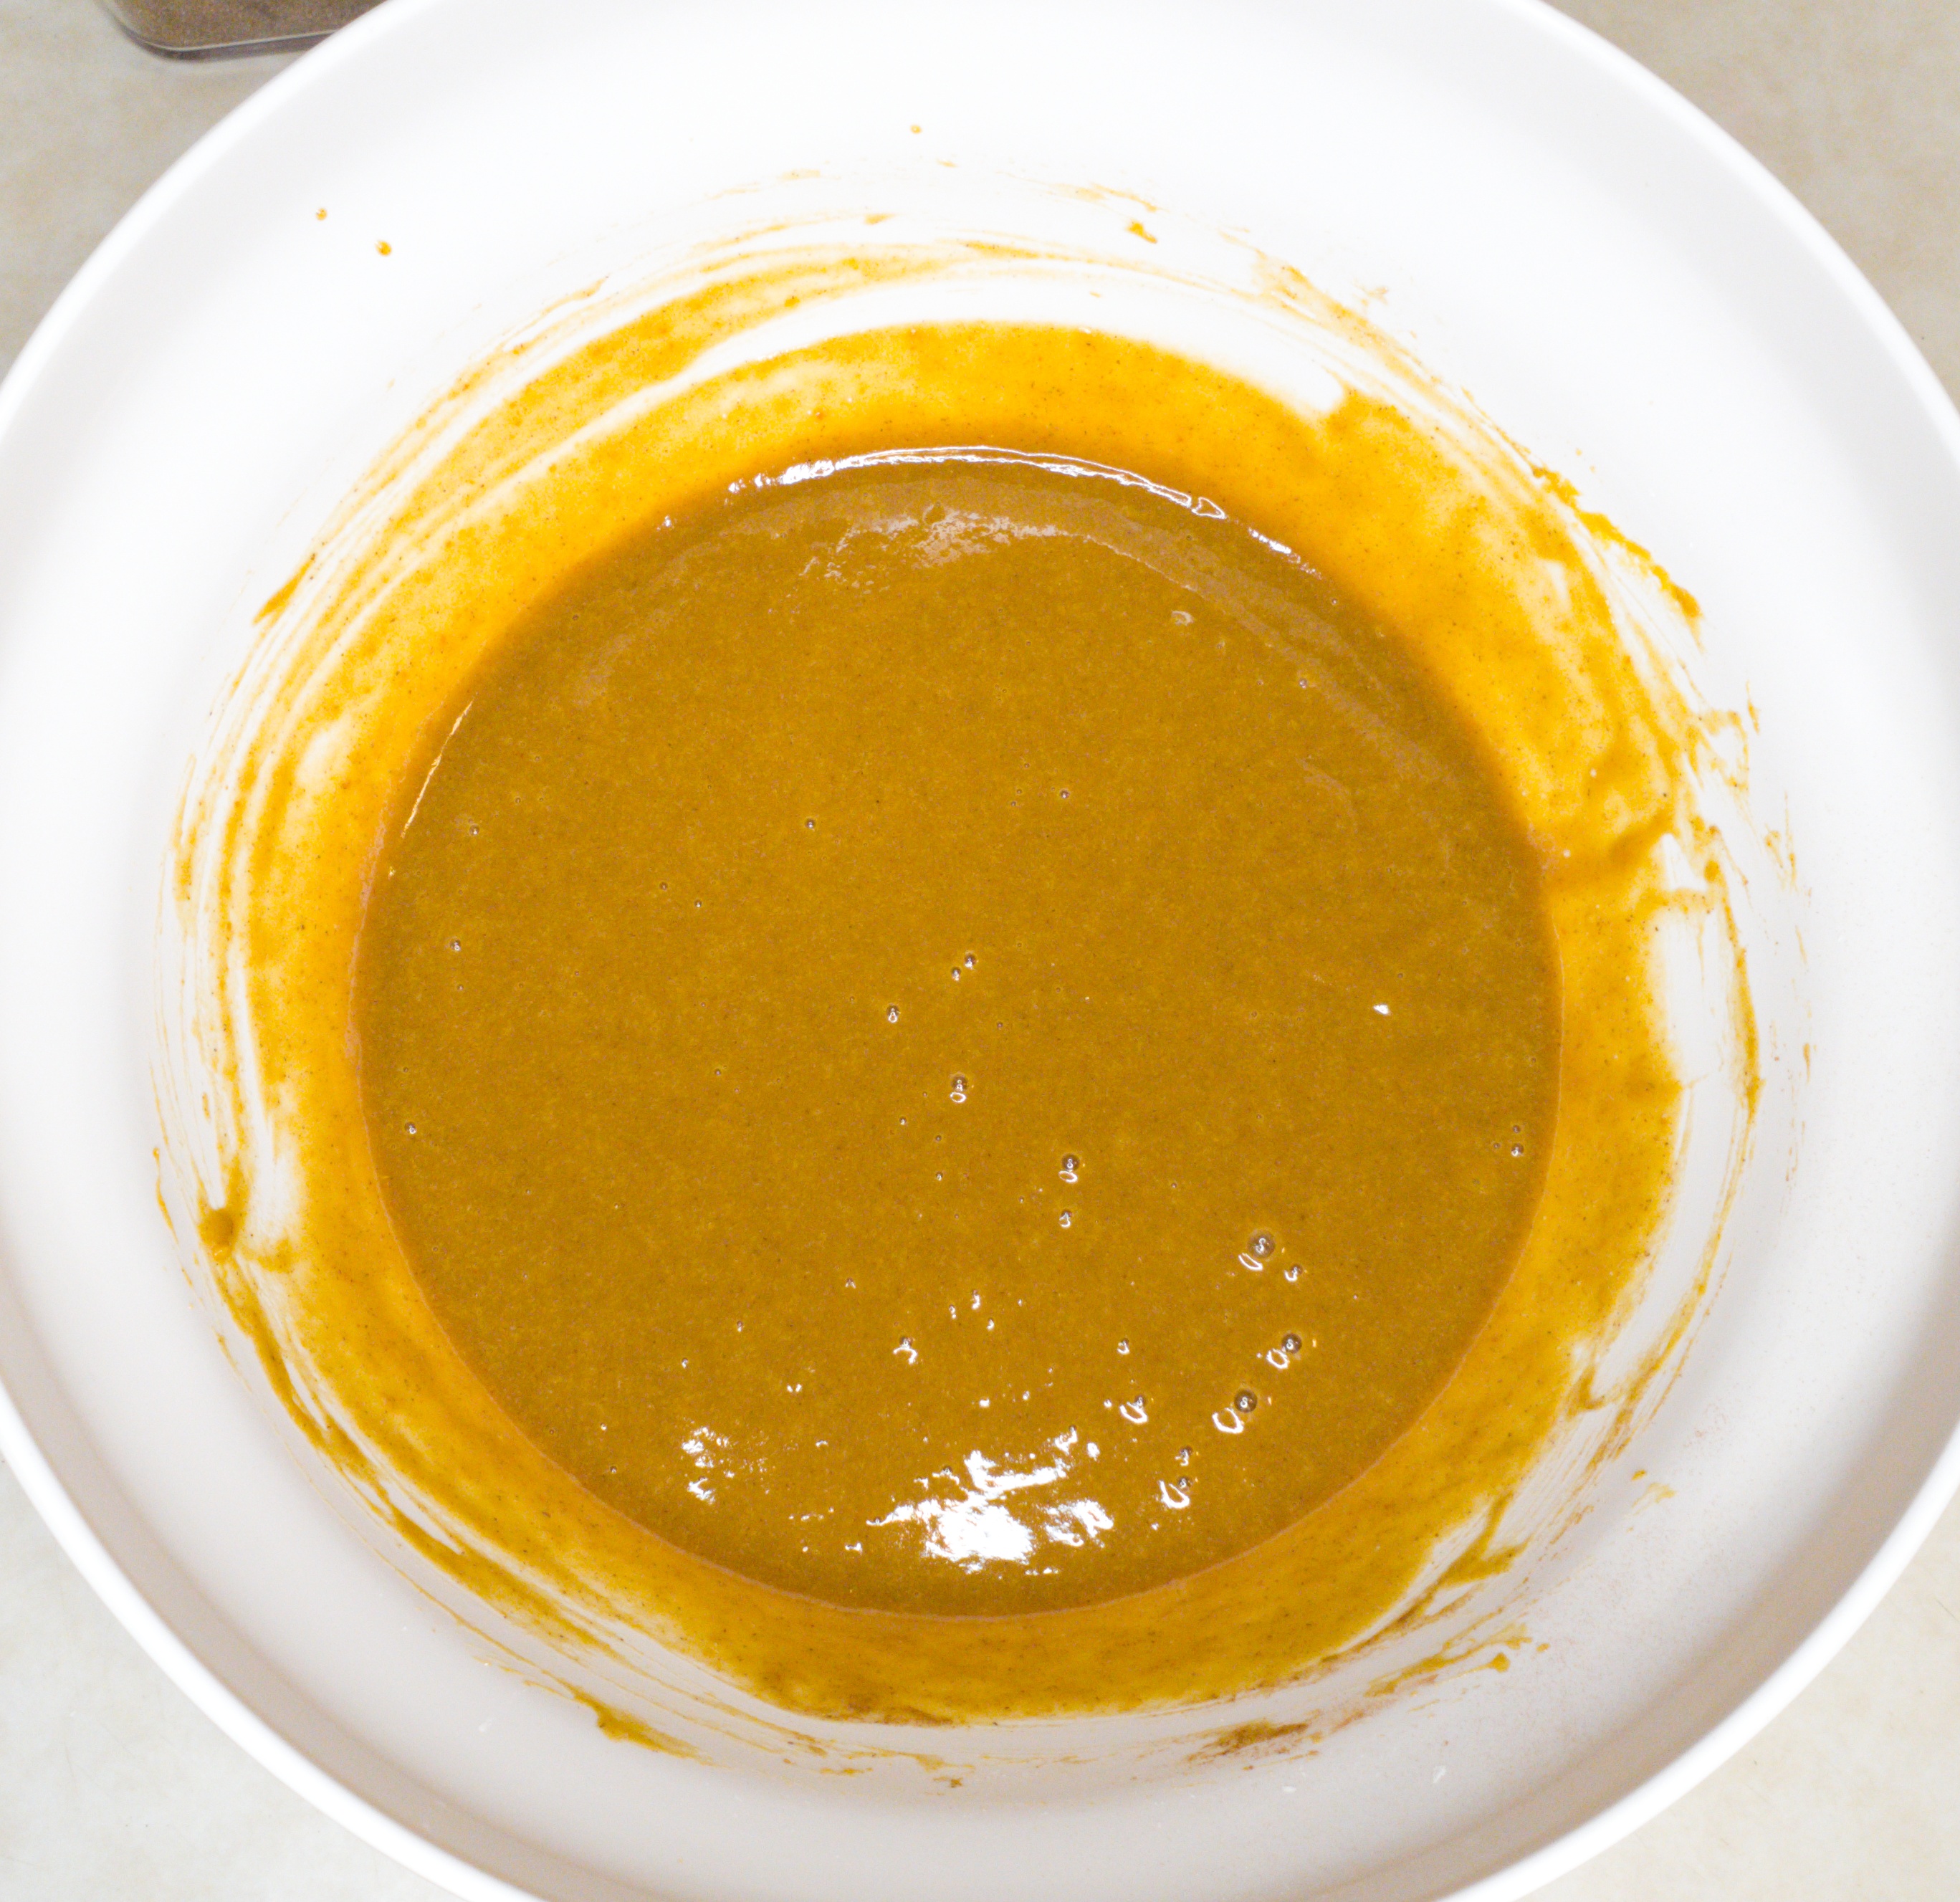
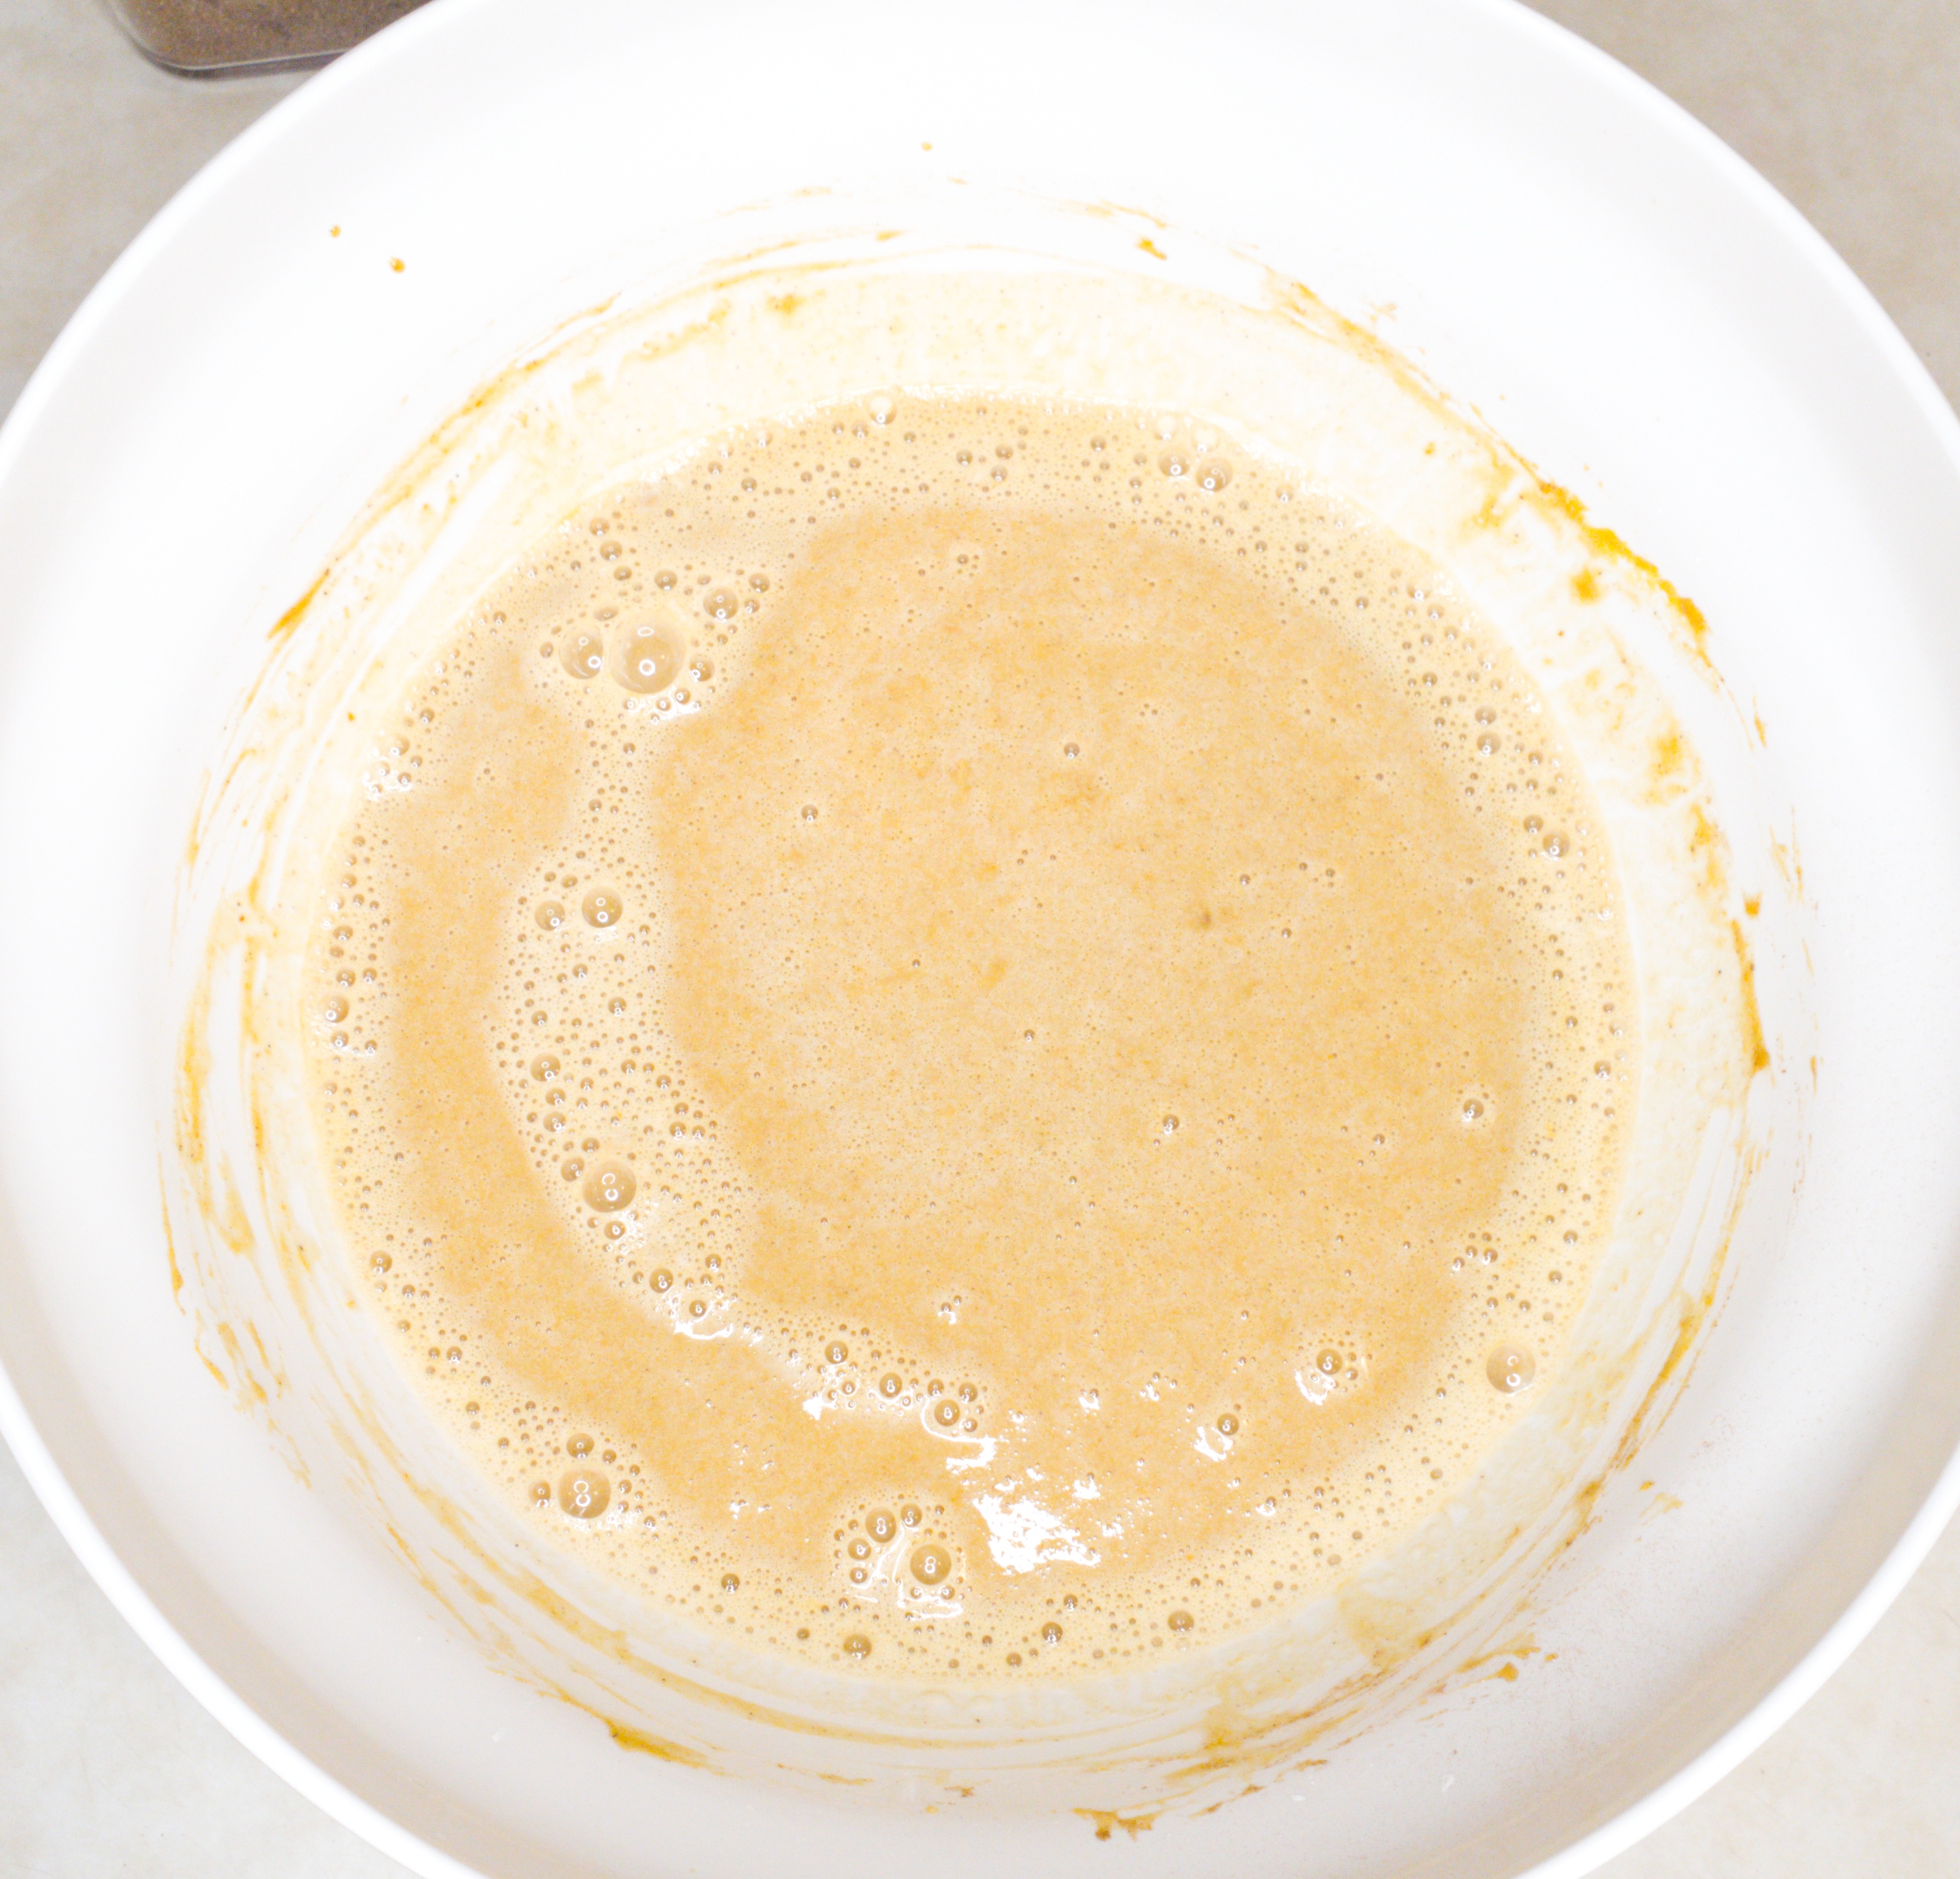
Basically, you measure all the filling ingredients out and dump them into a bowl, mixing until smooth. Then pour into your preferred pie shell, and bake! There are a few little things to keep in mind, though, which I’ll lay out below.
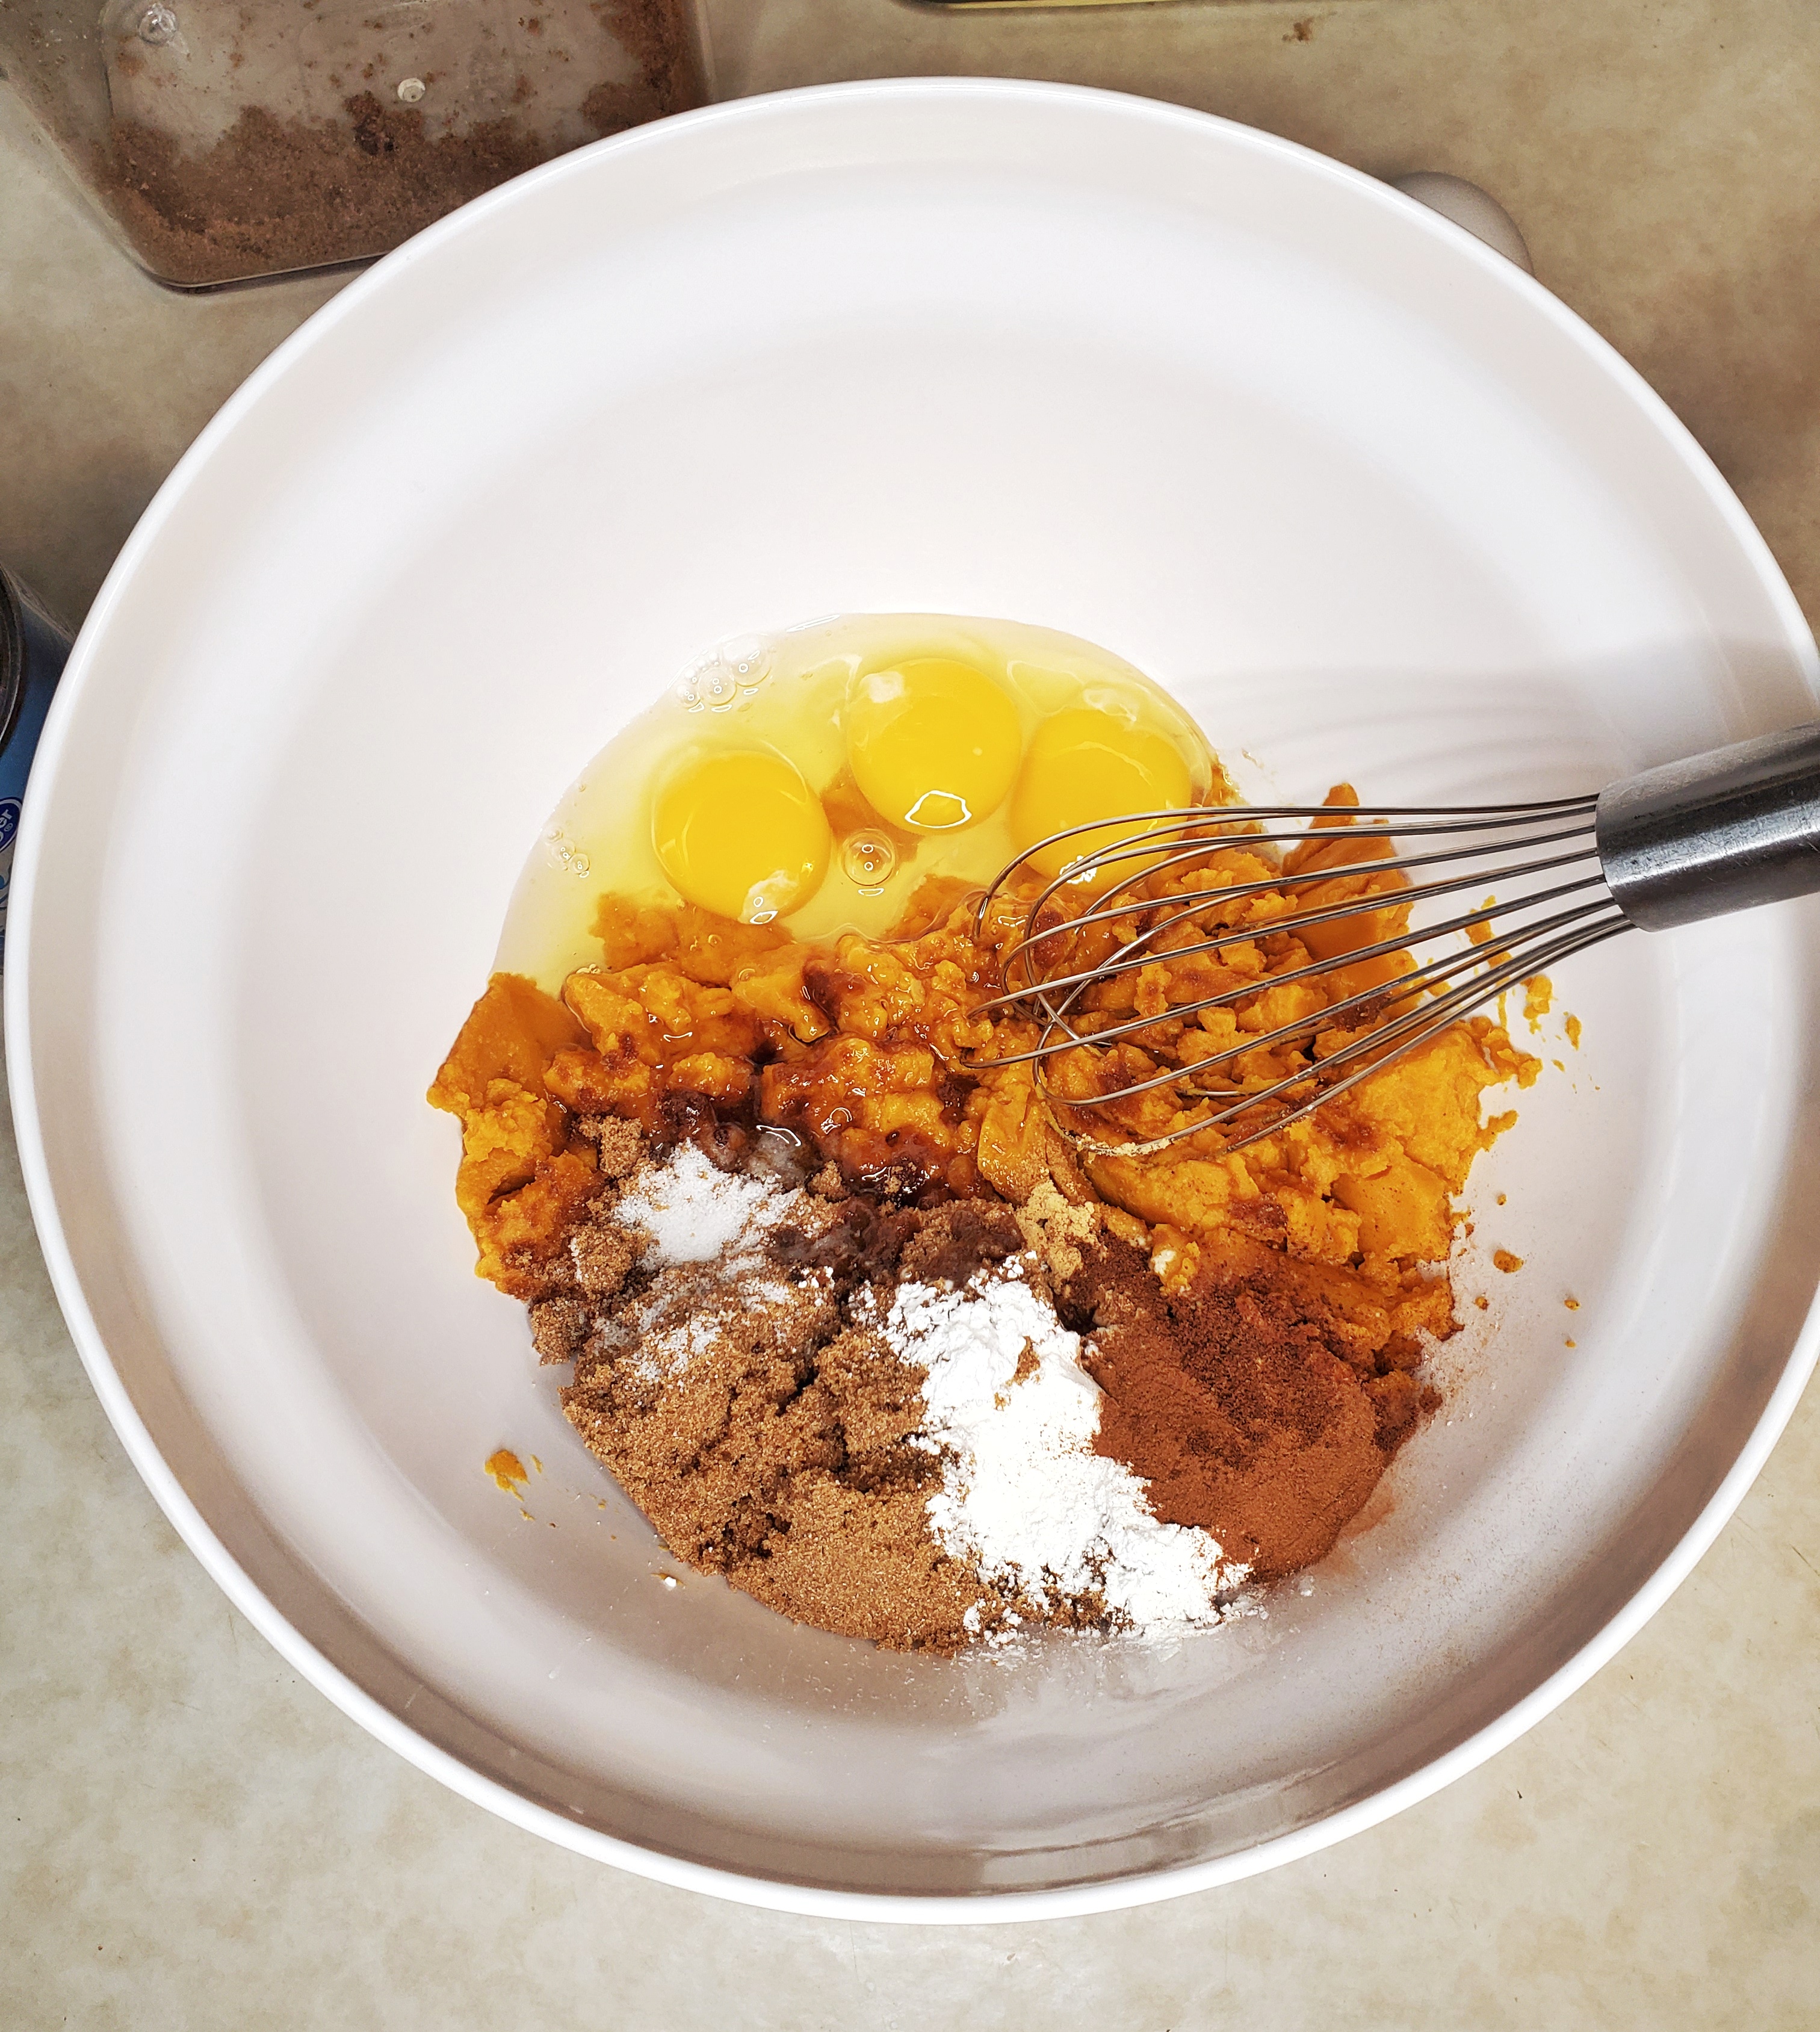
- I found it easier to get the texture I wanted by adding the evaporated milk after mixing everything else together. This was due to the canned puree coming out of the can slightly chunky. Depending on the brand you use, and how fresh it is, you might not have this problem.
- My 9″ deep dish pie plate is VERY DEEP. Even though it measures the same as any other deep dish pan out there, I always have issues with deep dish pie fillings not being quite enough. Like, even with this recipe, I had to make another batch of the filling to fill it properly, and used the remainder to make another smaller pie. However, it does fill it enough, so if you’re okay with a little extra crust at the top, or if your pie plate is not as deep, you should be fine. This should make two smaller pies if you have non-deep dish pie plates. I have yet to take the time to figure out how to make this filling in one bigger portion to fully fit my pie plate, since just using a bigger can of puree will change the texture and flavor profile a bit.
- The pastry recipe I have below makes enough for two one-crust pies, or one double-crust pie. I use it for basically all of my pie making, including savory fillings, like curries or shepherd’s pie.
- Be careful moving the filled pie shell into the oven. Before it’s cooked, the filing is really liquidy, and might spill over. If you want, you can pour the filling into the shell as it sits in the oven, but you risk letting the temperature of your oven drop too much.
- You want to pull this pie out of the oven when it still looks like the middle is not done. It will be pretty jiggly if you shake the plate gently. If you lightly touch the middle and there’s a skin formed, you should be good – in a stoneware pie plate, the pie will continue cooking, and will continue to fully set as it cools down. I haven’t made this pie in a different type of pie plate in a LONG time, so I don’t remember there being an issue with under cooking, since it’s also likely to take less time, being shallower in depth than the stoneware plate.
- If you want to ensure a crispy crust, you can blind bake (pre-bake) the crust before adding the filling. I find this crust, in this pie plate, with this filling does okay without blind baking, with maybe an inch in the middle being slightly underdone. Since you pull this out of the oven when the middle is still a little jiggly, it’s hard to ensure that it’s perfectly cooked underneath the wet middle. I’ll admit to not doing blind baking before on this recipe, but I think I’ll try it next time!
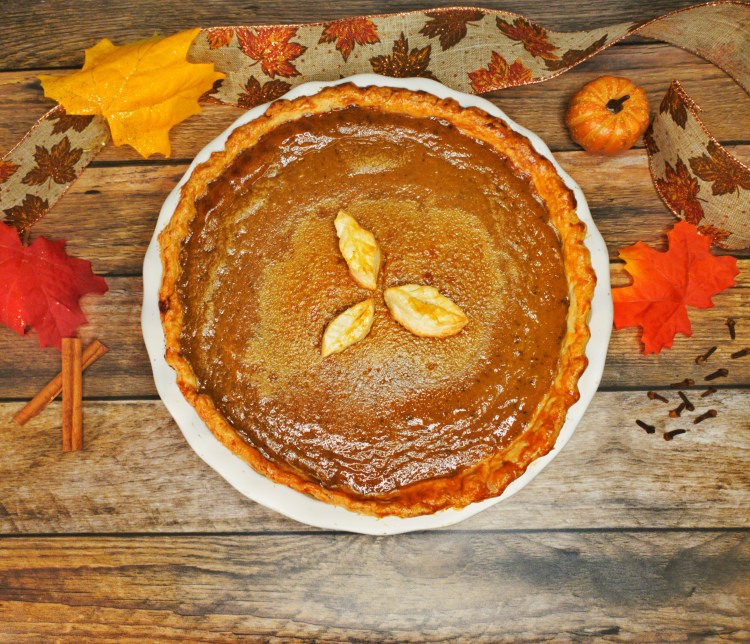
Some pictures below of the process.

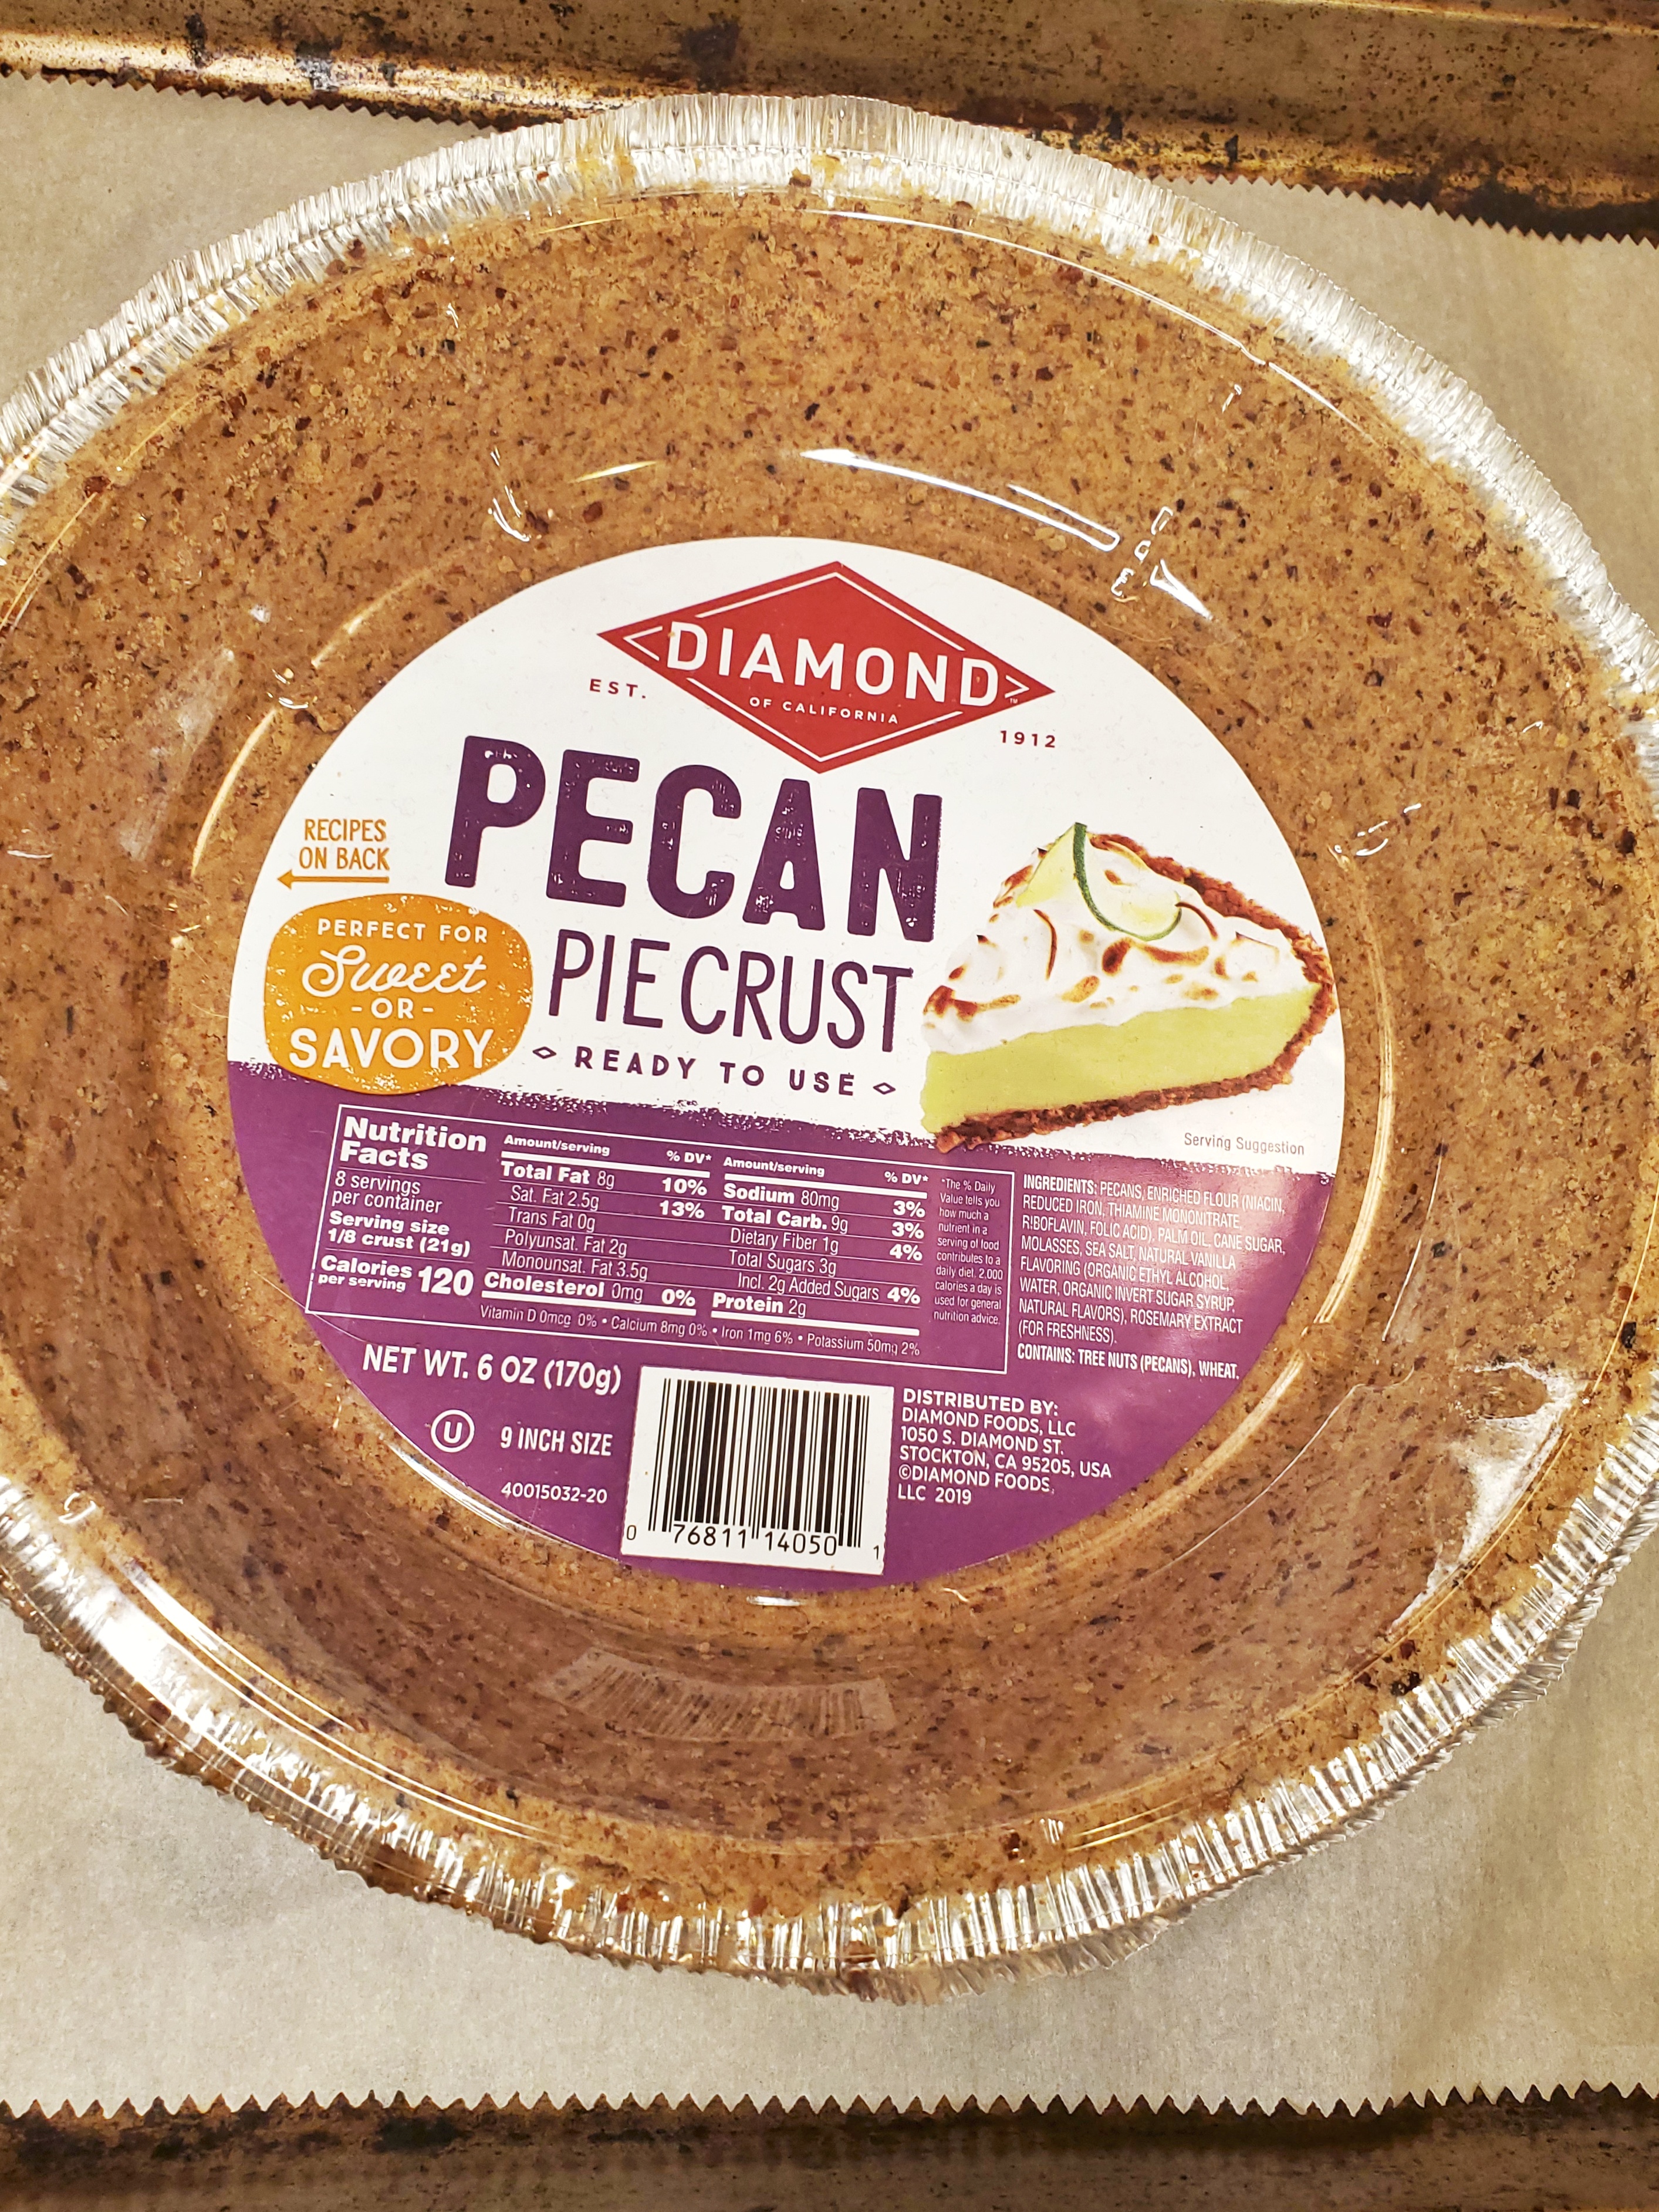
I also used this cool pecan crust I found at the store, and I thought it added a pretty interesting pecan-y crunch and flavor to the final product. They also have a walnut crust. I think I’ll try them again with something like a quiche or another sweet pie! It also was the perfect size to put the remaining filling that didn’t fit in the deep dish plate.

Also, I’m excited to debut the use of my new photography helpers! I got a 3-setting light that has “cool”, “natural” and “warm light” that’s also on a tripod AND has three different clips I can use with my phone. I also bought some backdrops from Ink&Elm that you’ll probably see a lot more of in the future. I’m really excited to use these tools and hopefully make videos now that I can do most things hands-free!
Level: Easy
Serves: 8-10
Prep Time: 75 minutes (60 minutes of that is chilling time)
Cooking Time: 50-60 minutes
Total Time: 2.25 hours (plus more for cooling)
Ingredients:
Crust
– 2 1/2 cups all-purpose flour
– 1 tsp salt
– 1 tsp sugar
– 1 cup cold butter, cut into cubes
– 1/4-1/2 cup cold water
Filling
– 1 cup brown sugar, packed
– 1 tbsp cornstarch
– 1 tsp ground ginger*
– 1 tsp ground cinnamon*
– 1/8 tsp ground cloves*
– 1 1/2 cups (15oz.) pumpkin puree, fresh or canned*
– 3 large eggs, lightly beaten, plus – 1 egg for glaze – 1 12oz. can of evaporated milk
Tools:
– various sized mixing bowls
– electric mixer (hand, and/or standing)
– measuring cups
– measuring spoons
– knife
– wire cooling rack
– spatula or spoon
– 9″ pie plate (I use a deep dish, but this filling recipe can be used for a normal one)
Method:
For Crust
- Combine flour, salt, and sugar in a large bowl. Add butter, and either with your hands, a fork, or a pastry cutter, work the butter into the mixture until it is crumbly and some pieces resemble tiny pebbles, and others, flakes.
- A little at a time, add water and work the mixture into a ball. Add more water as needed to wet all ingredients, but not so much that the dough is sticky. Only knead enough to have all of the mixture come together.
- Divide dough in half, and flatten each piece into a disc no more than 1 inch thick. Wrap discs in plastic wrap, and chill in the refrigerator at least one hour.
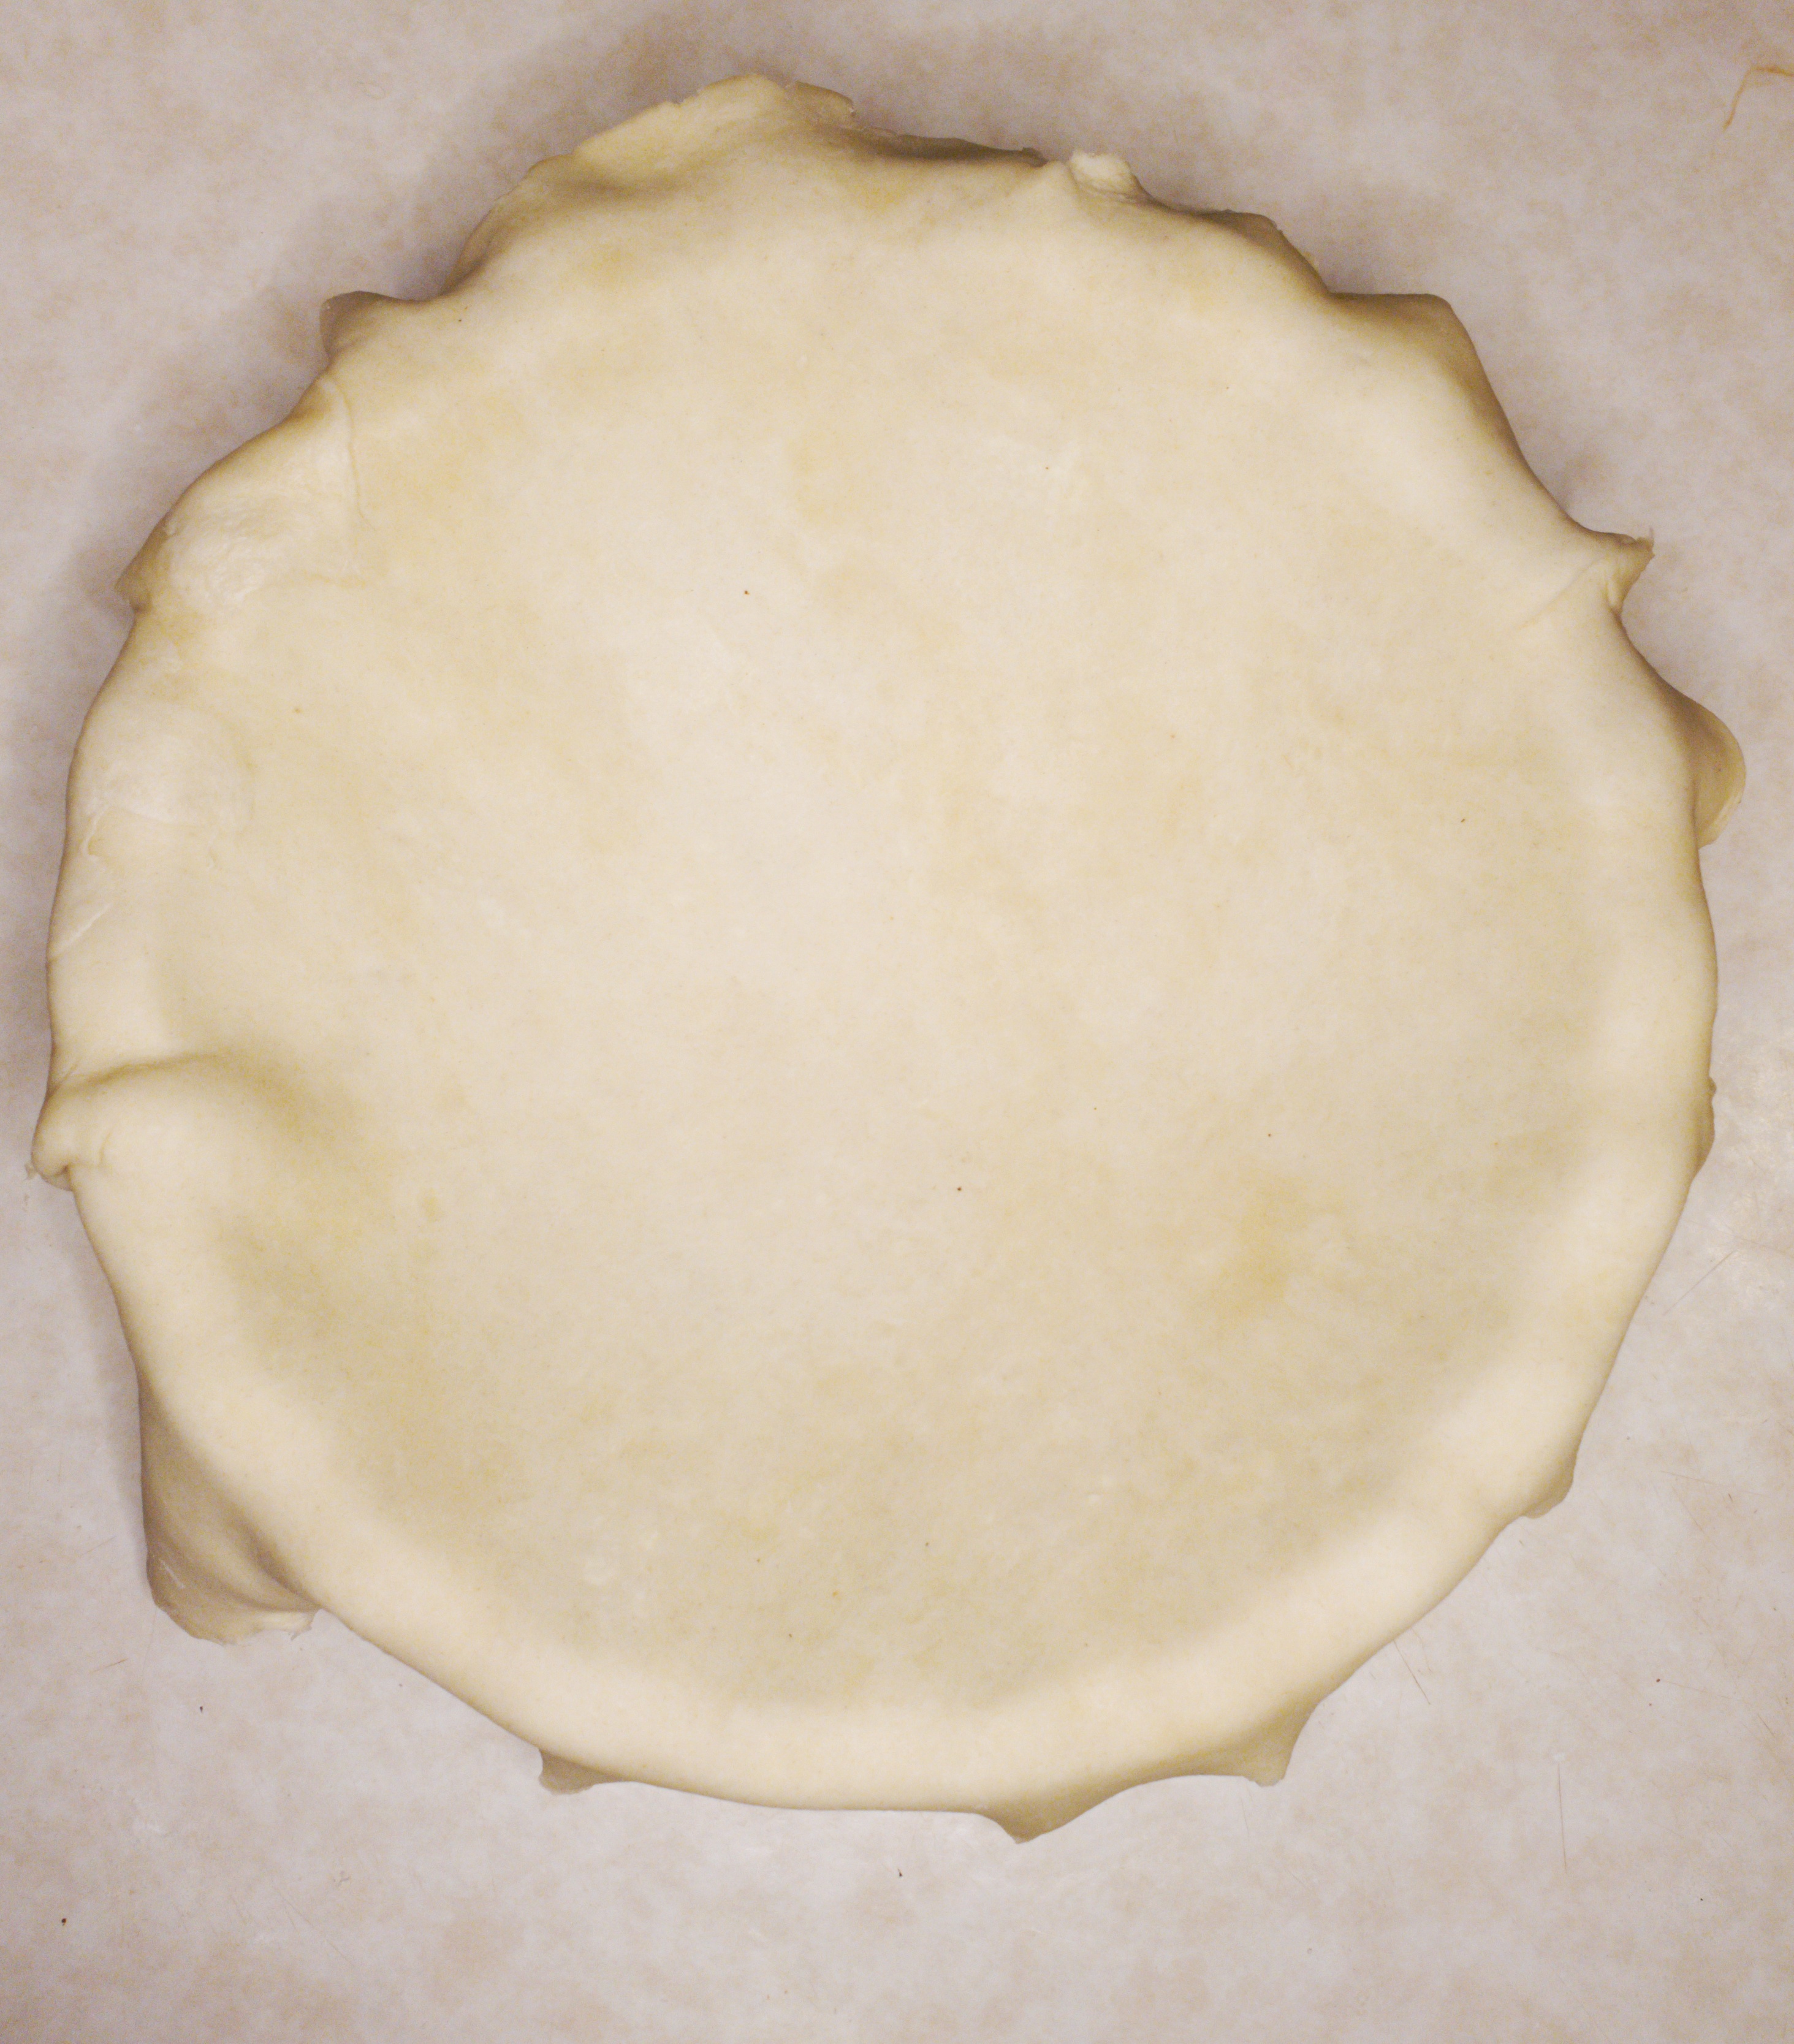
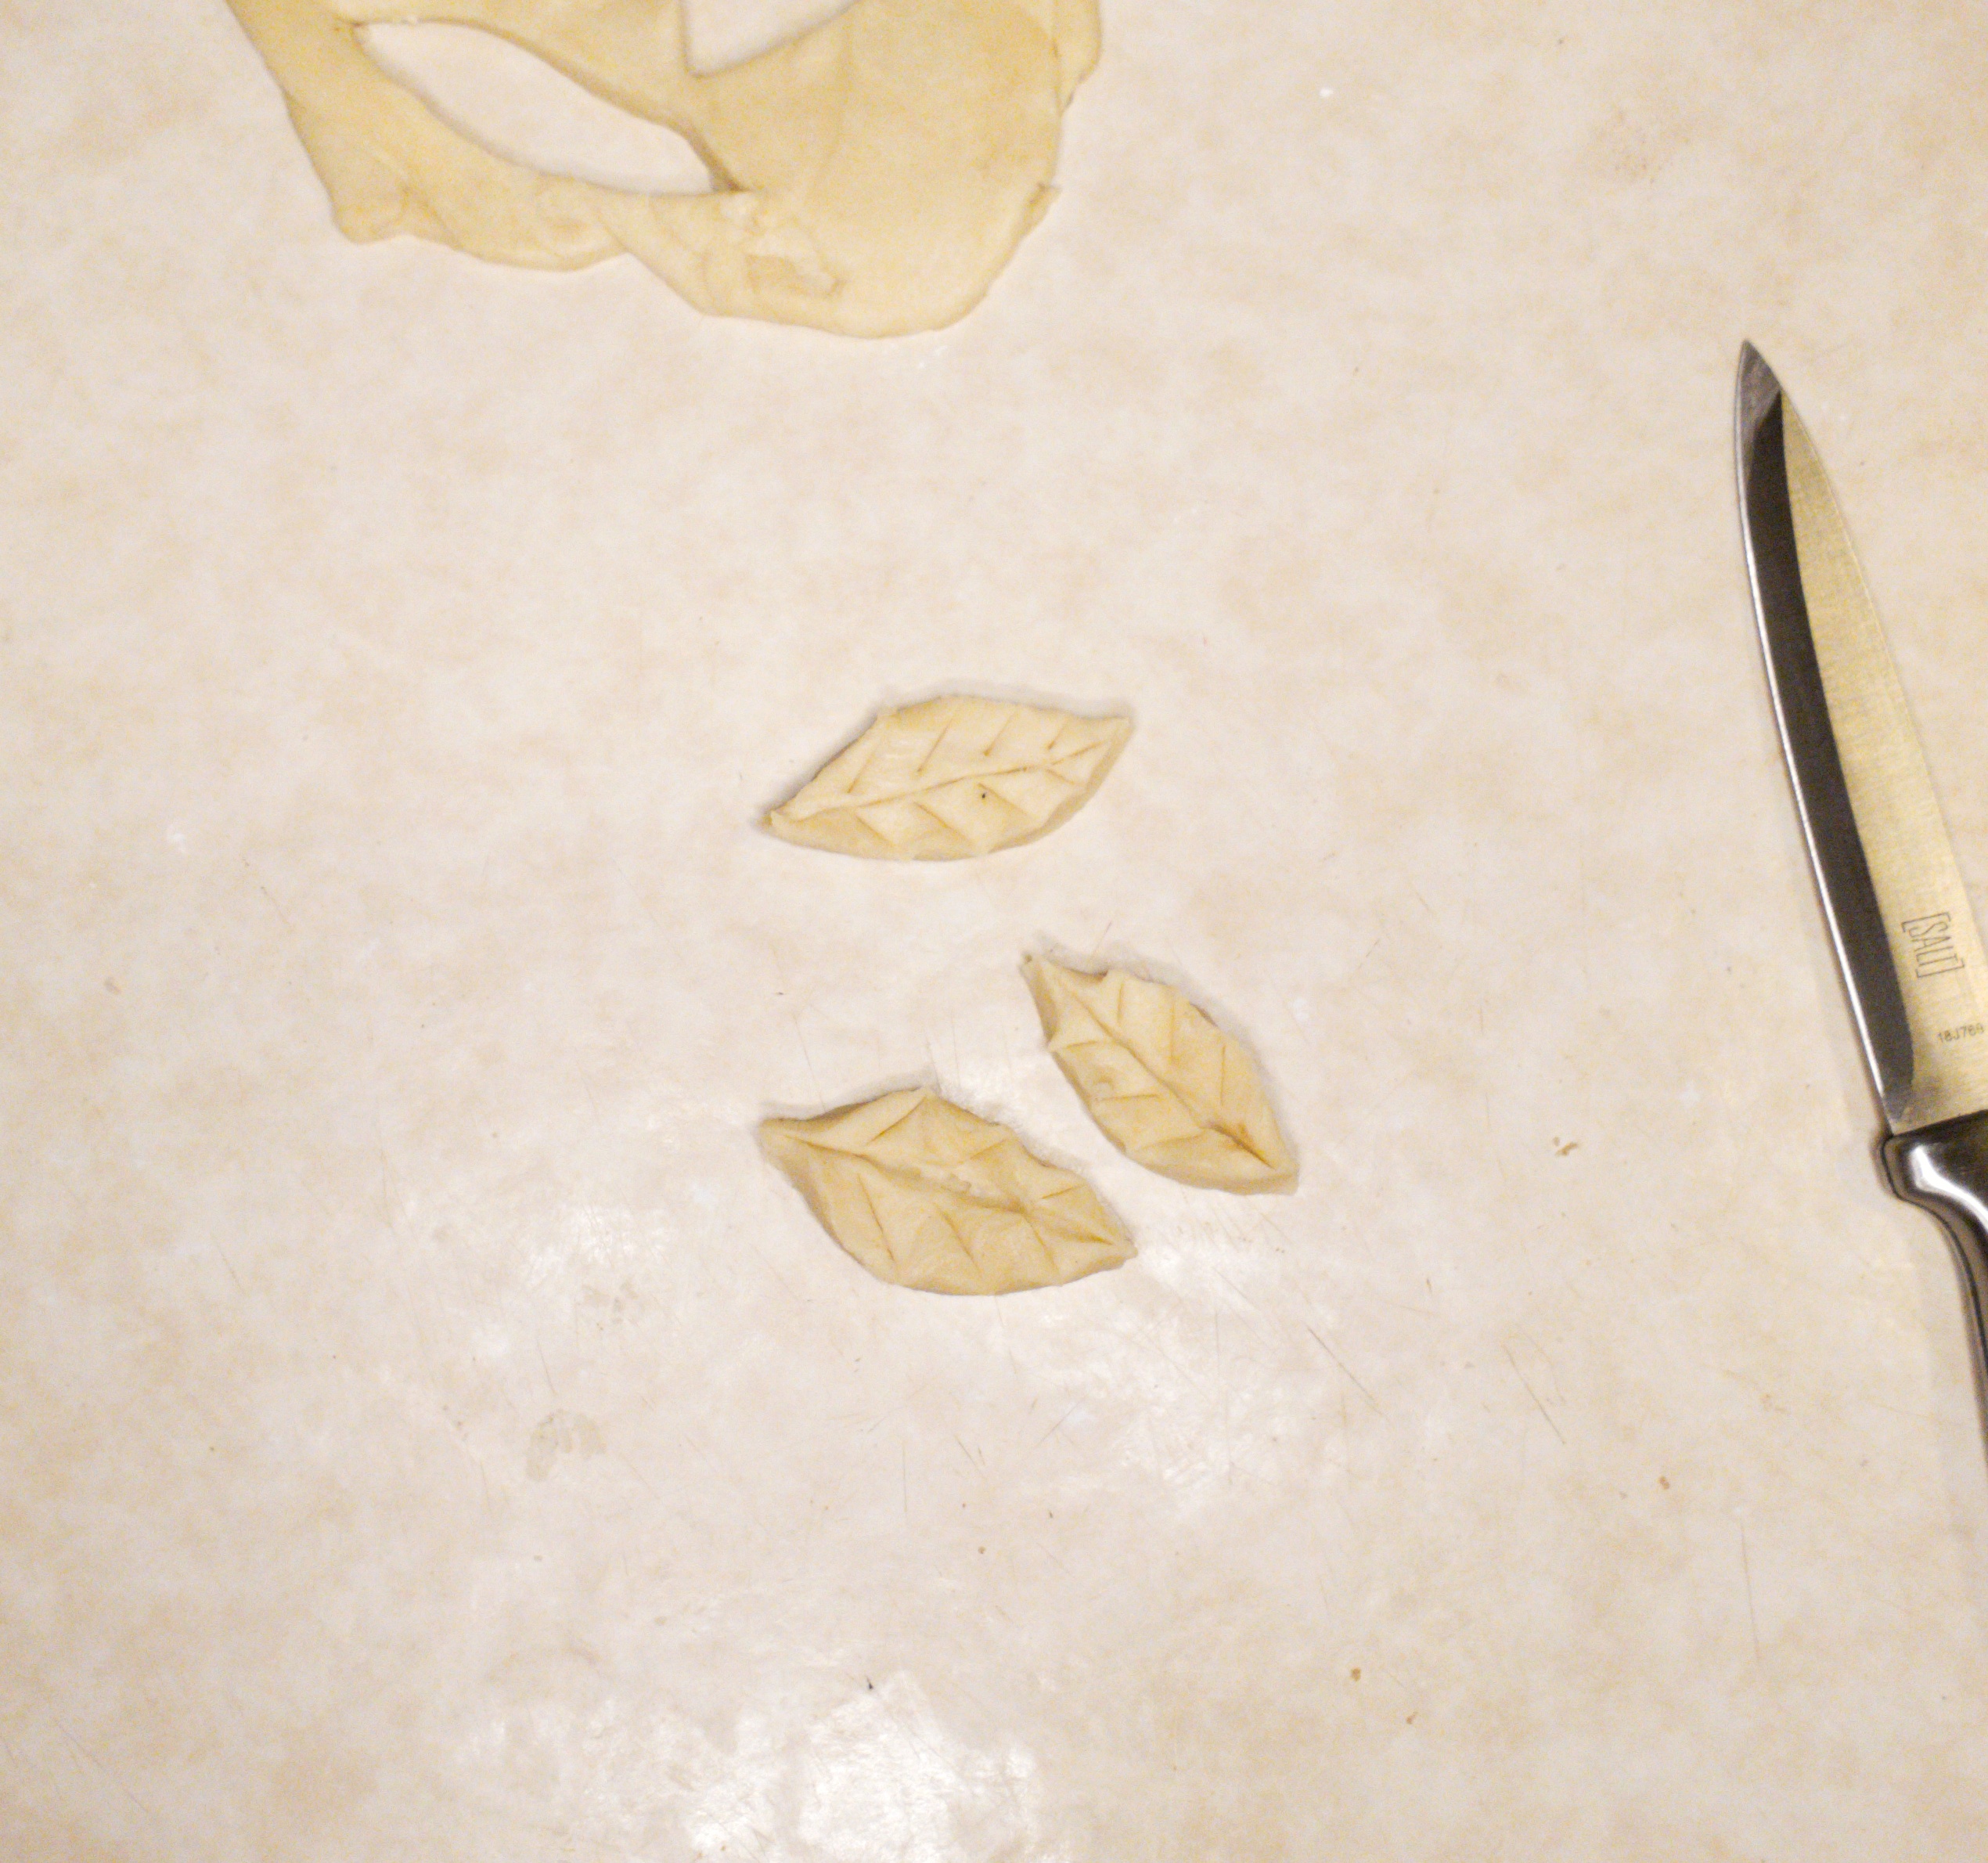
- Once you’re ready with the filling, roll out one disc until it’s about 1/4 inch thick. You may have to let the dough sit for a minute before rolling if it’s been chilling for longer. Gently, lift the crust and rest it over your rolling pin. Move crust into pie plate, adjusting it so it sits nicely in the angle of the bottom. Trim the excess with a knife or kitchen shears, and save for decoration, or use to patch holes.
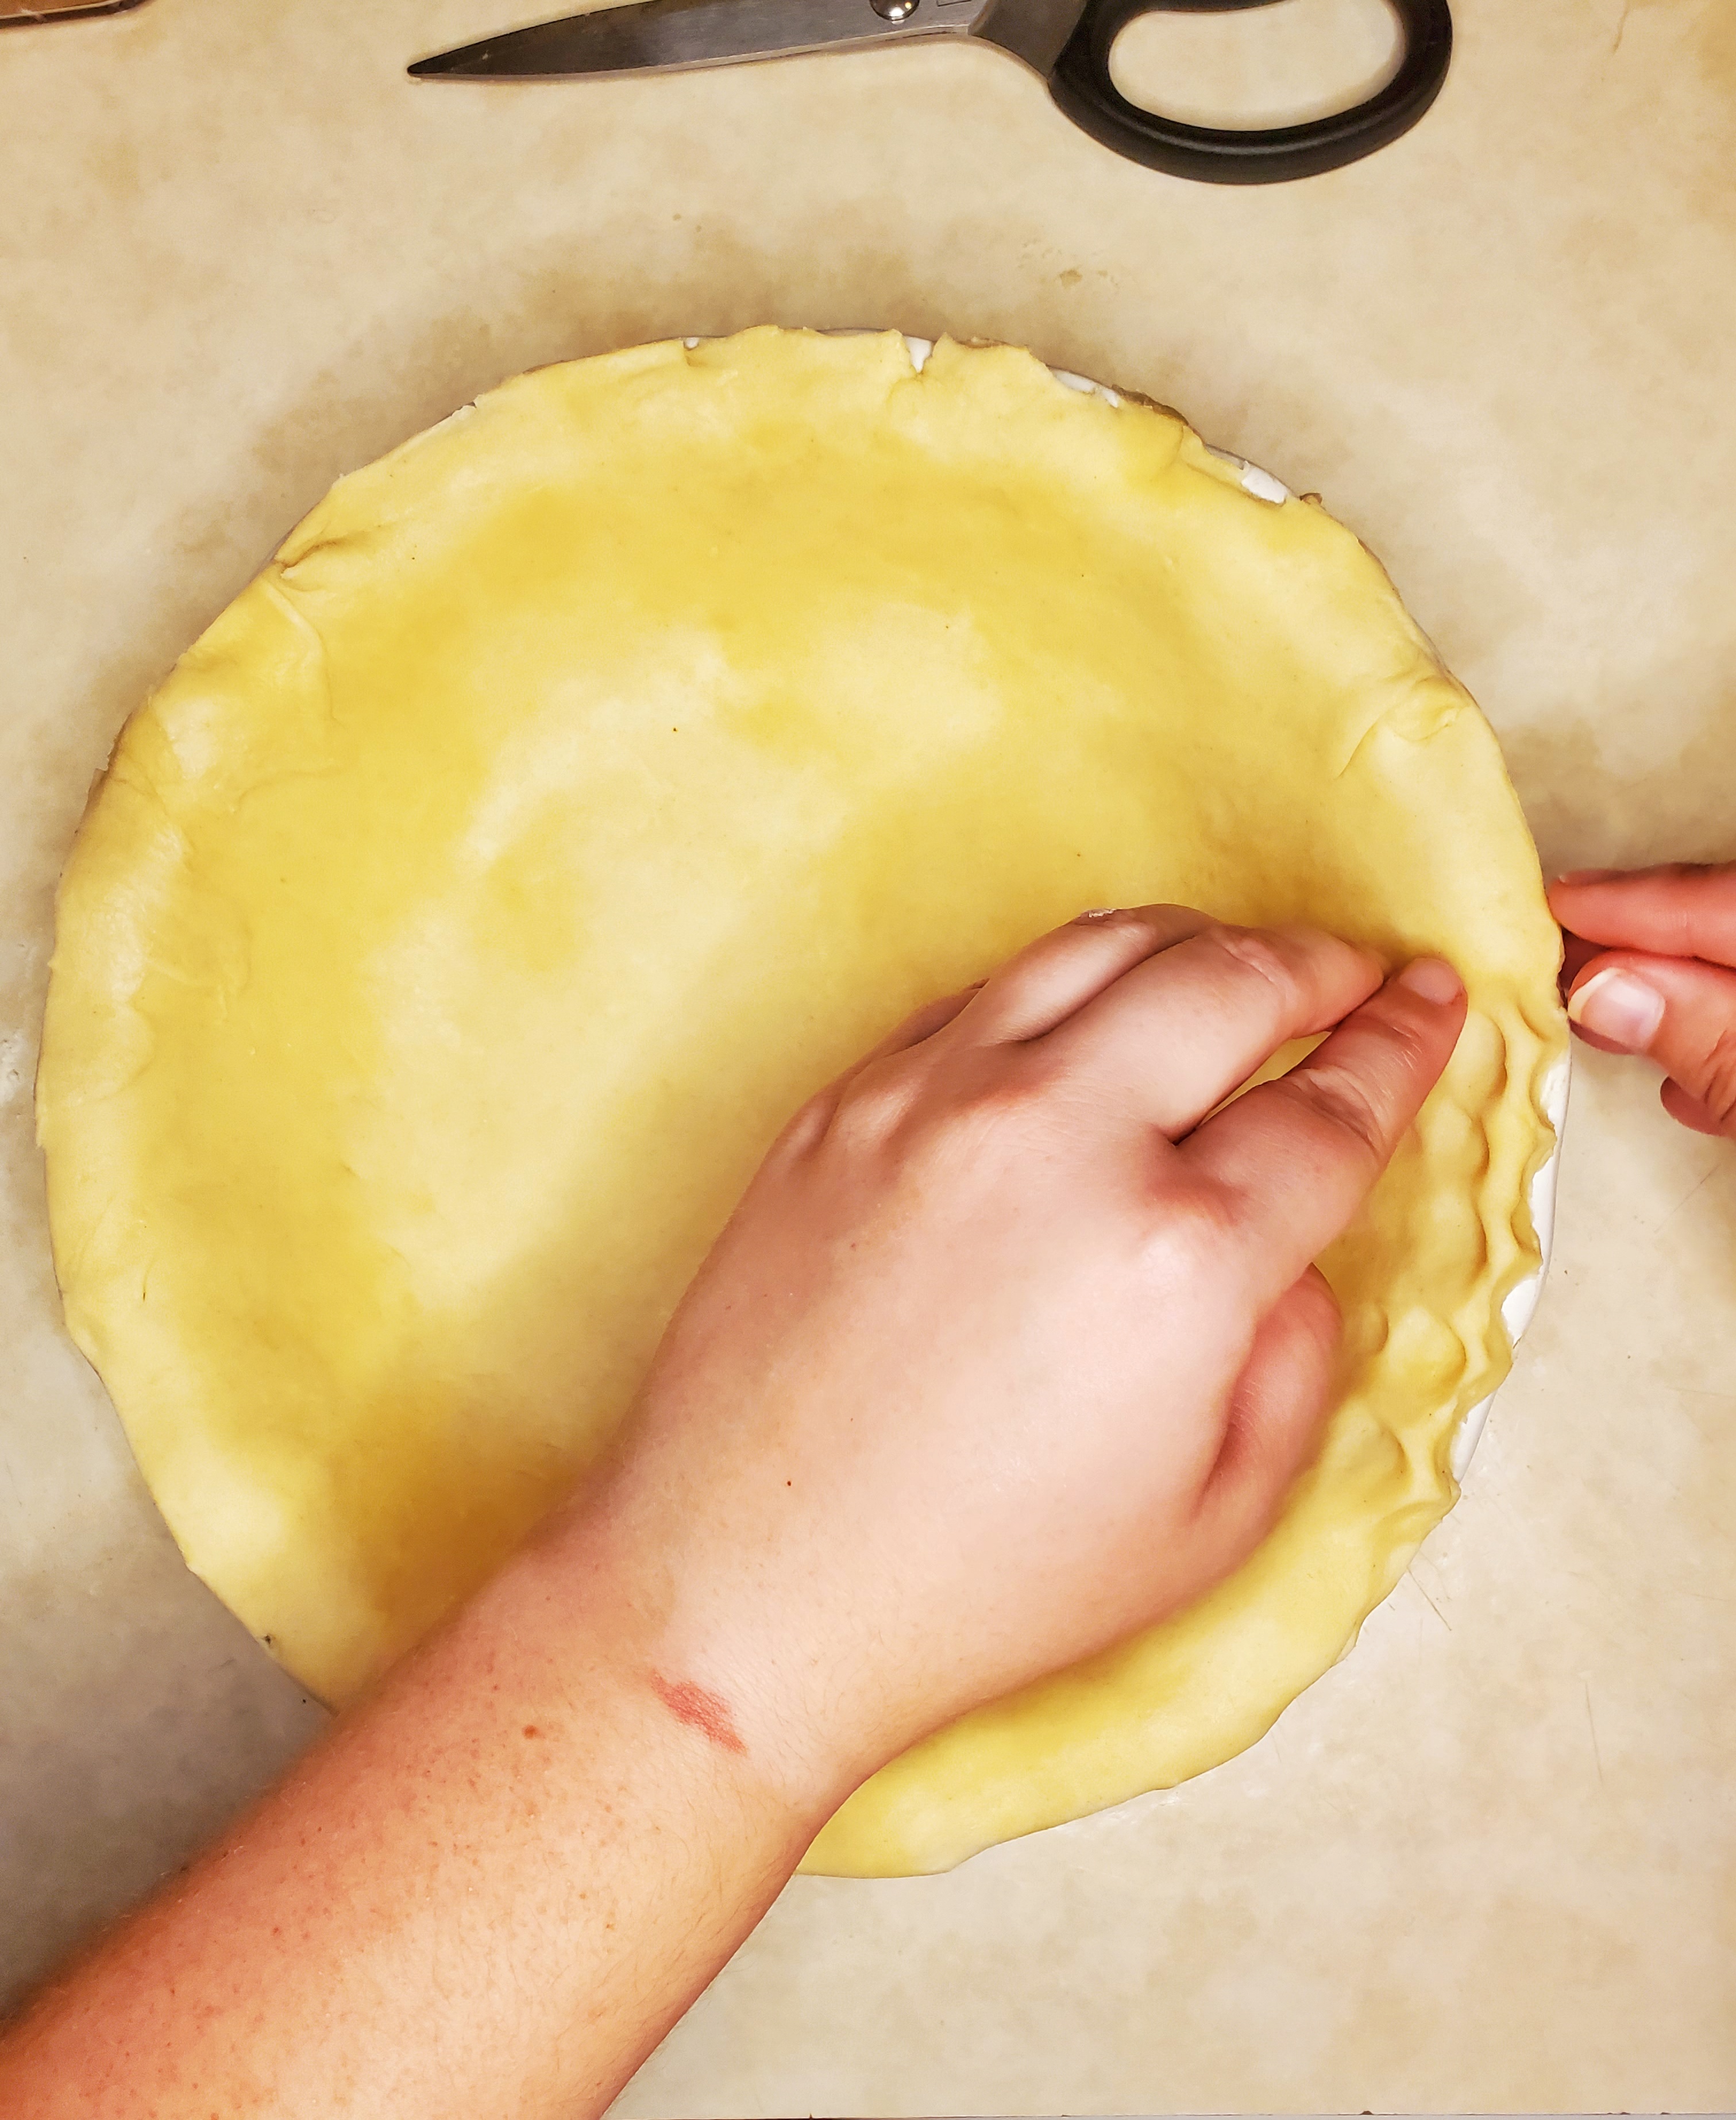
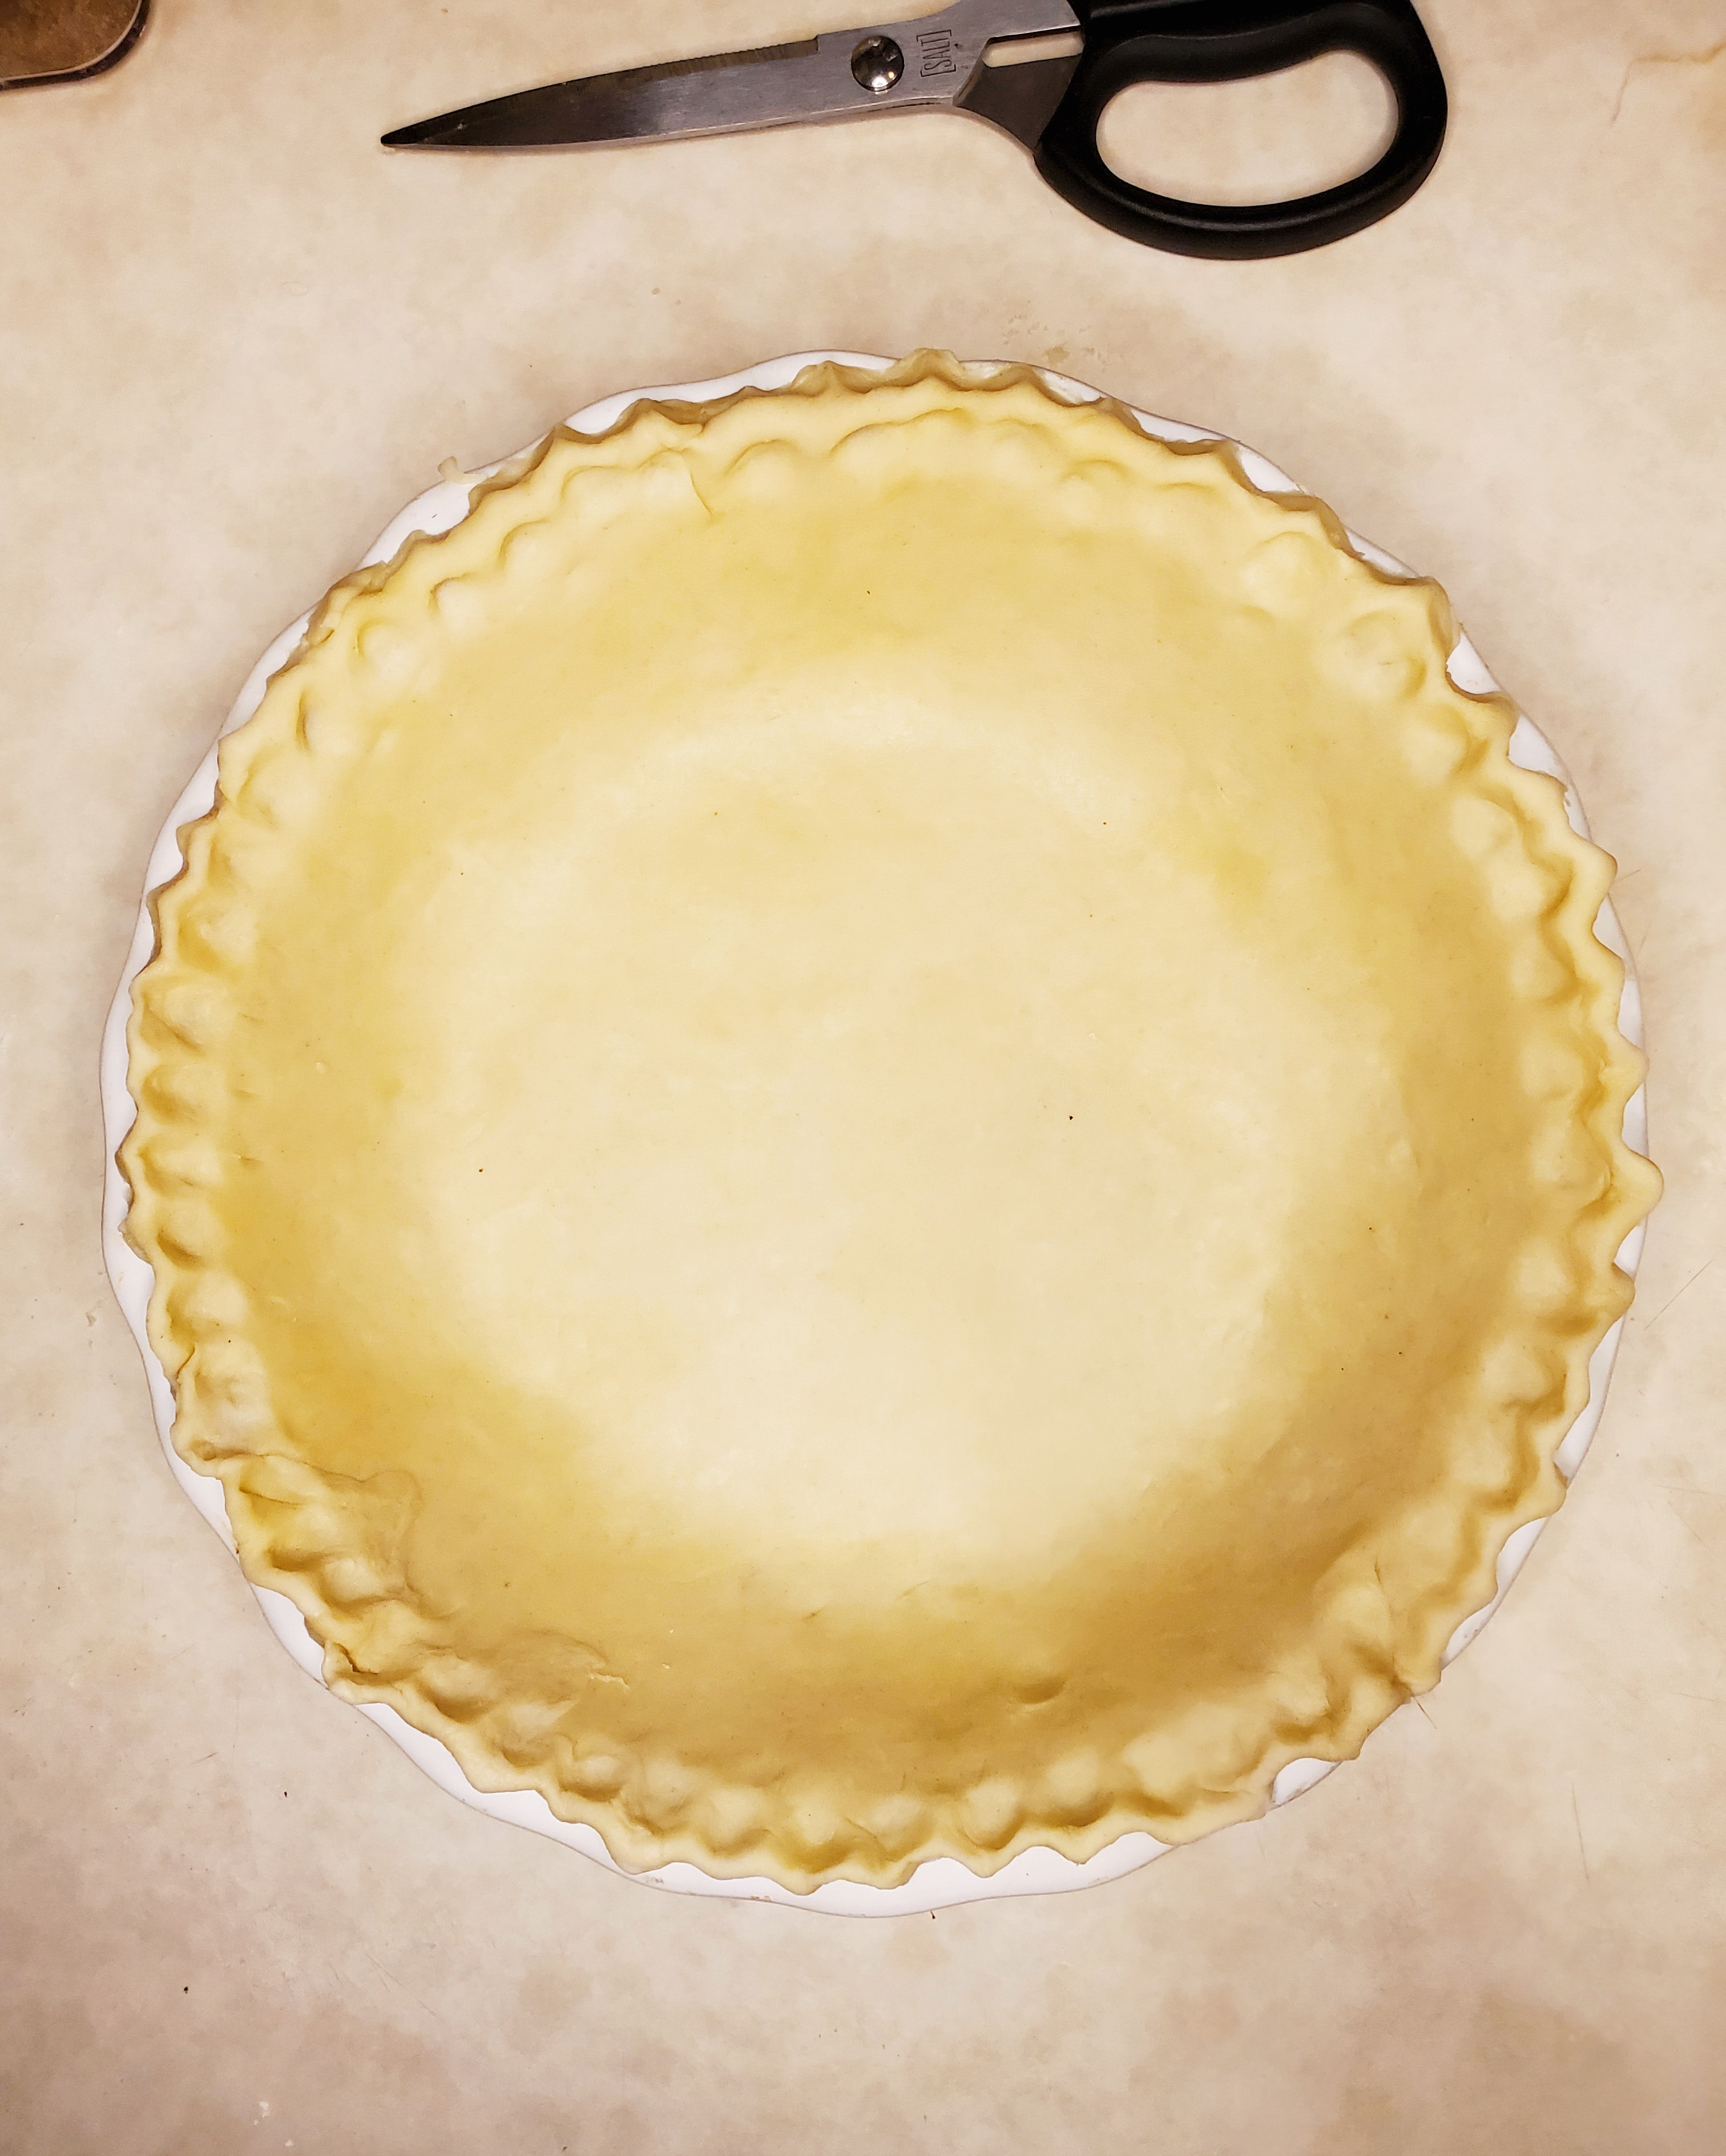
- Using your fingers, pinch the edge of crust into decorative edge, or use a fork. You can also add other flair, like leaves, braided crust or other shapes to the edge.
For Filling
- Set prepared pie plate on a baking tray lined with parchment paper. Preheat oven to 425℉.
- In a large bowl, combine sugar, cornstarch, salt, ginger, cinnamon, cloves, pumpkin puree, and 3 eggs. Beat well.
- Add evaporated milk and blend. Set aside.
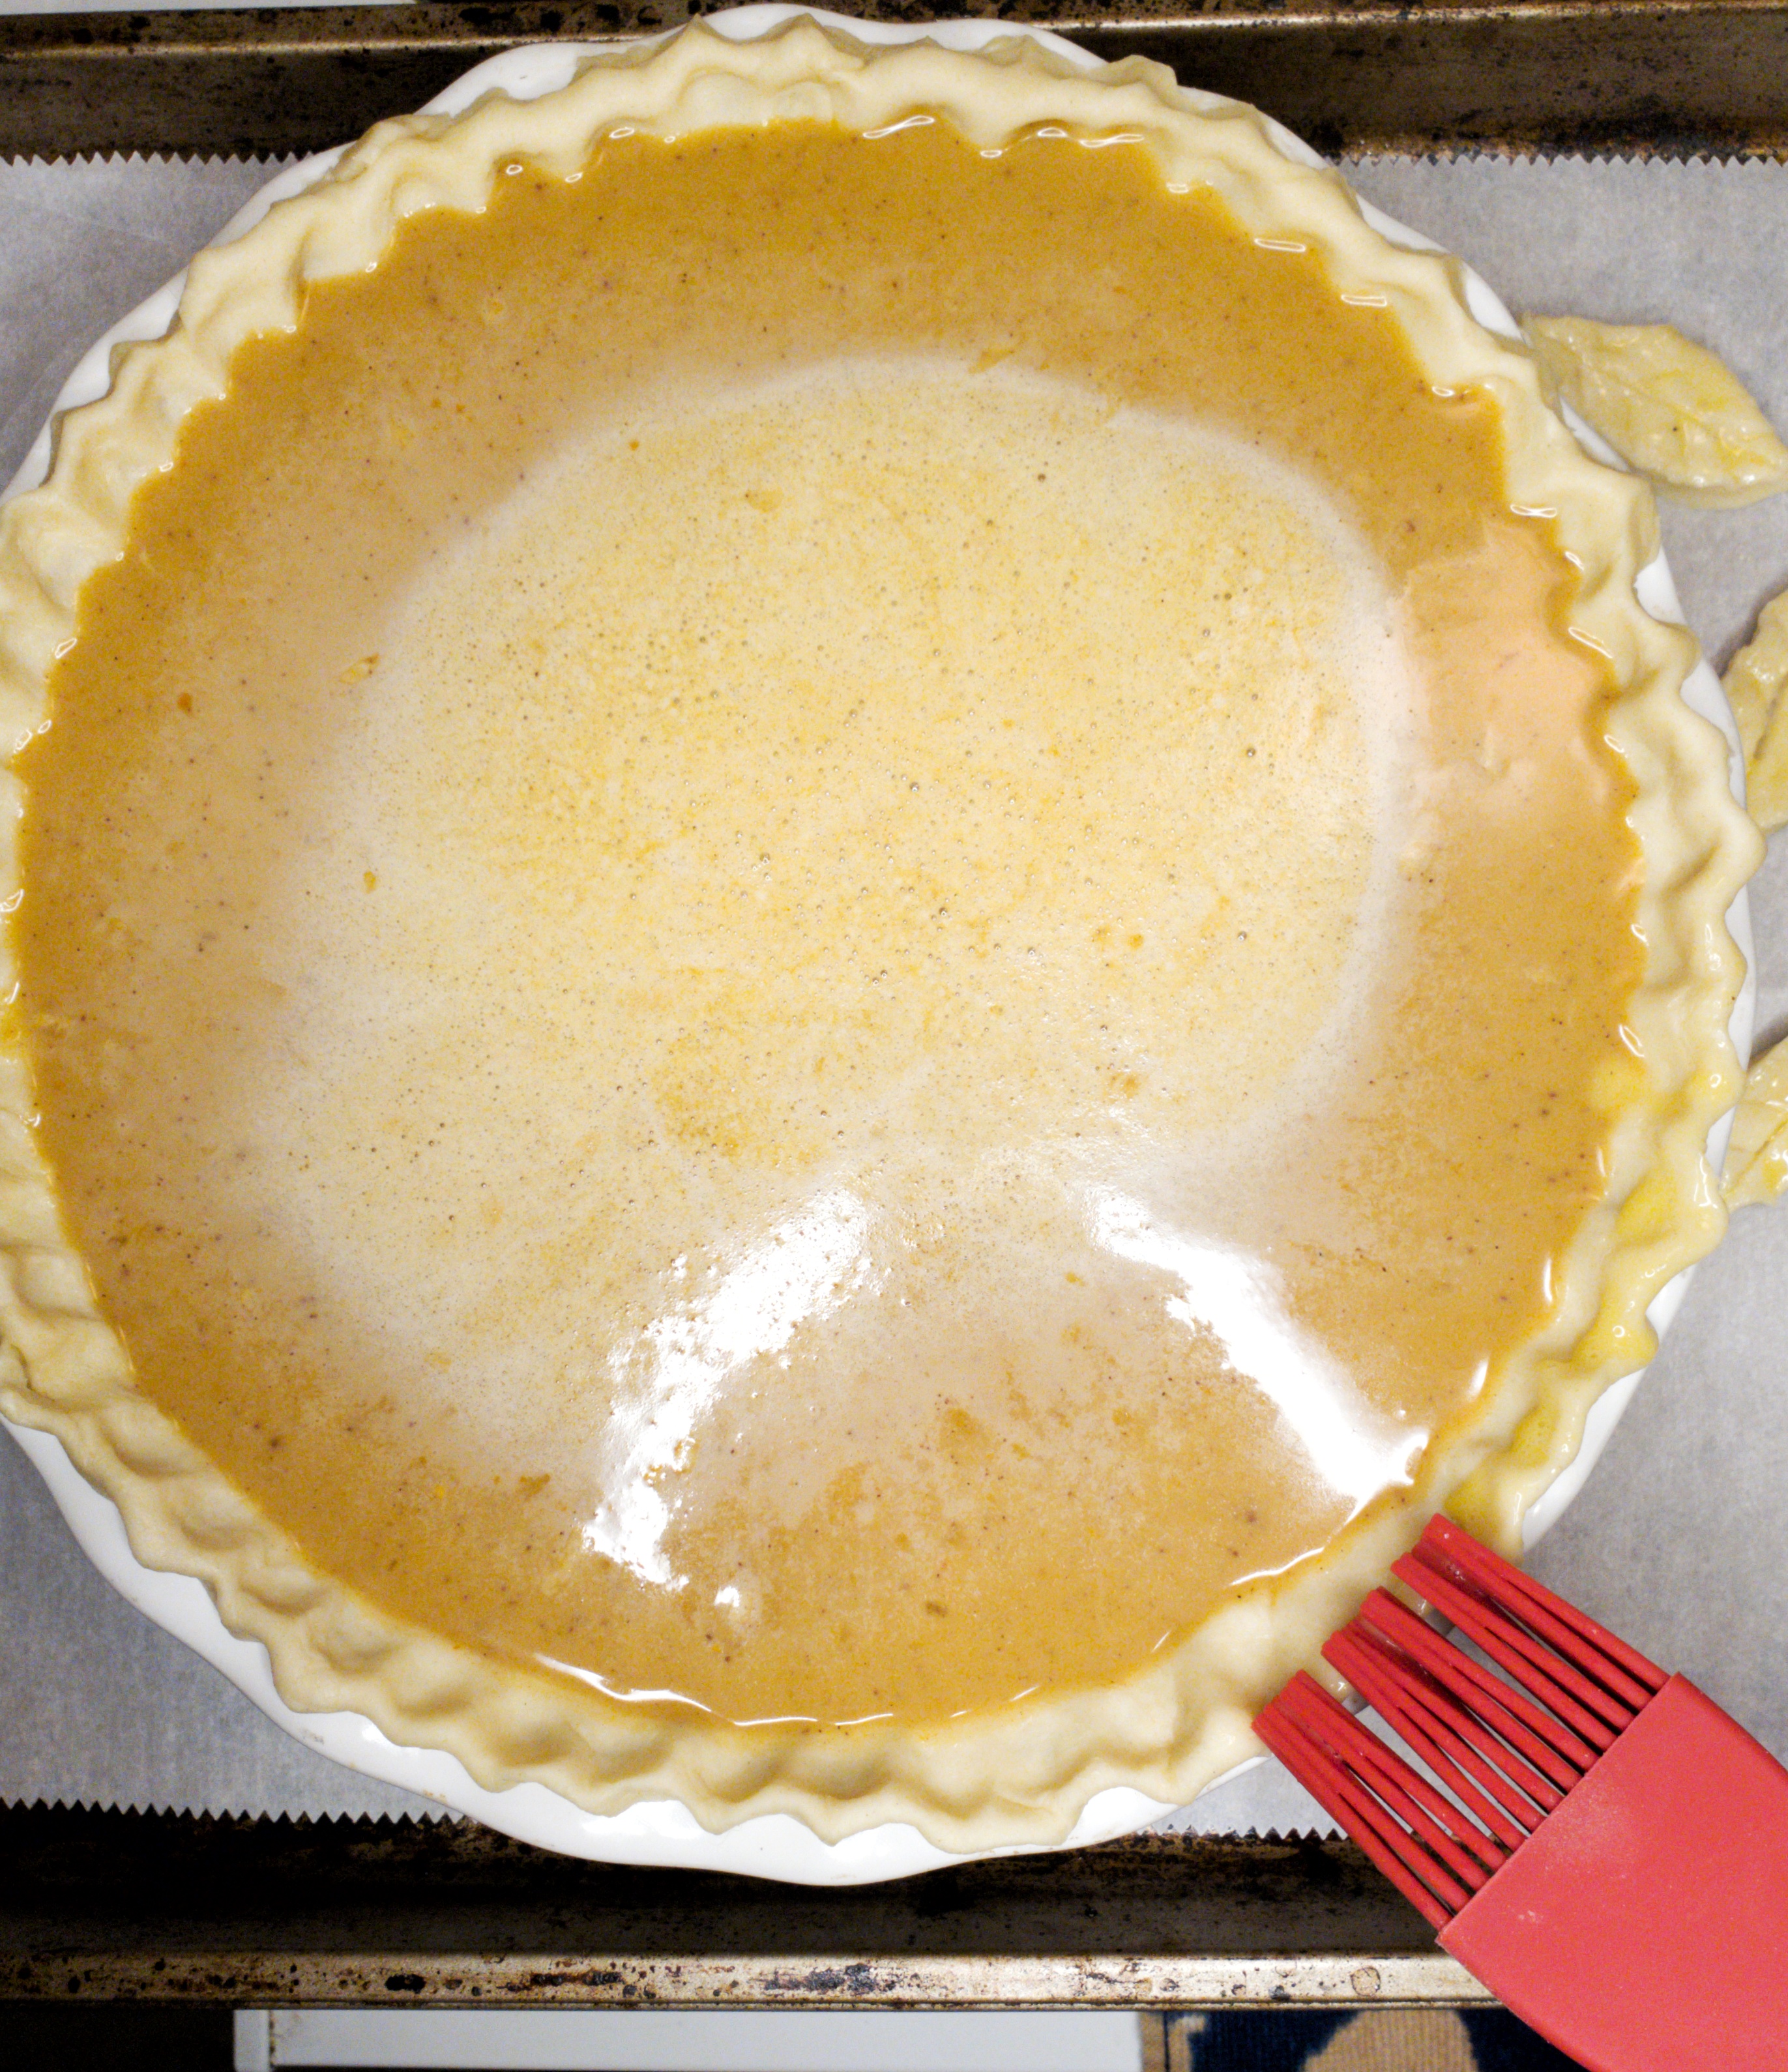
- Using a pastry brush, brush beaten egg onto edge of crust, and on any other decorative elements.
- Gently pour filling into pie shell, wiping away any drips or spills with a paper towel.
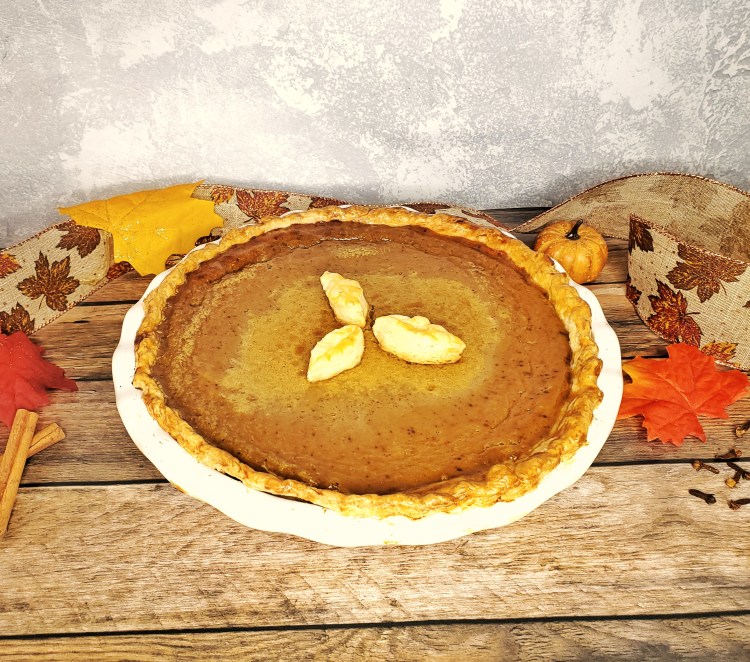
- Very carefully, move baking sheet with pie from the counter to the oven. Bake at 425℉ for 10 minutes, then reduce heat to 350℉ and continue baking for 50 minutes, or until middle jiggles when shook, but rest of filling stays still. Place on wire rack to cool completely.
- Place pie in fridge once fully cooled and keep chilled until ready to serve. Refrigerate any leftovers.
Notes:
- If you don’t have one or all of these spices, you can use 1 tablespoon of Pumpkin Pie Spice instead. I like to spice things individually, when possible, because I can control how much of something goes into my food.
- I kept the crust in the fridge for days before rolling it out. You may have to let it warm up slightly before you roll out, but not too much! We want the butter to stay as hard as possible so it gets that perfect, flakey crust when it bakes. This crust recipe can be kept in the freezer for up to one month.
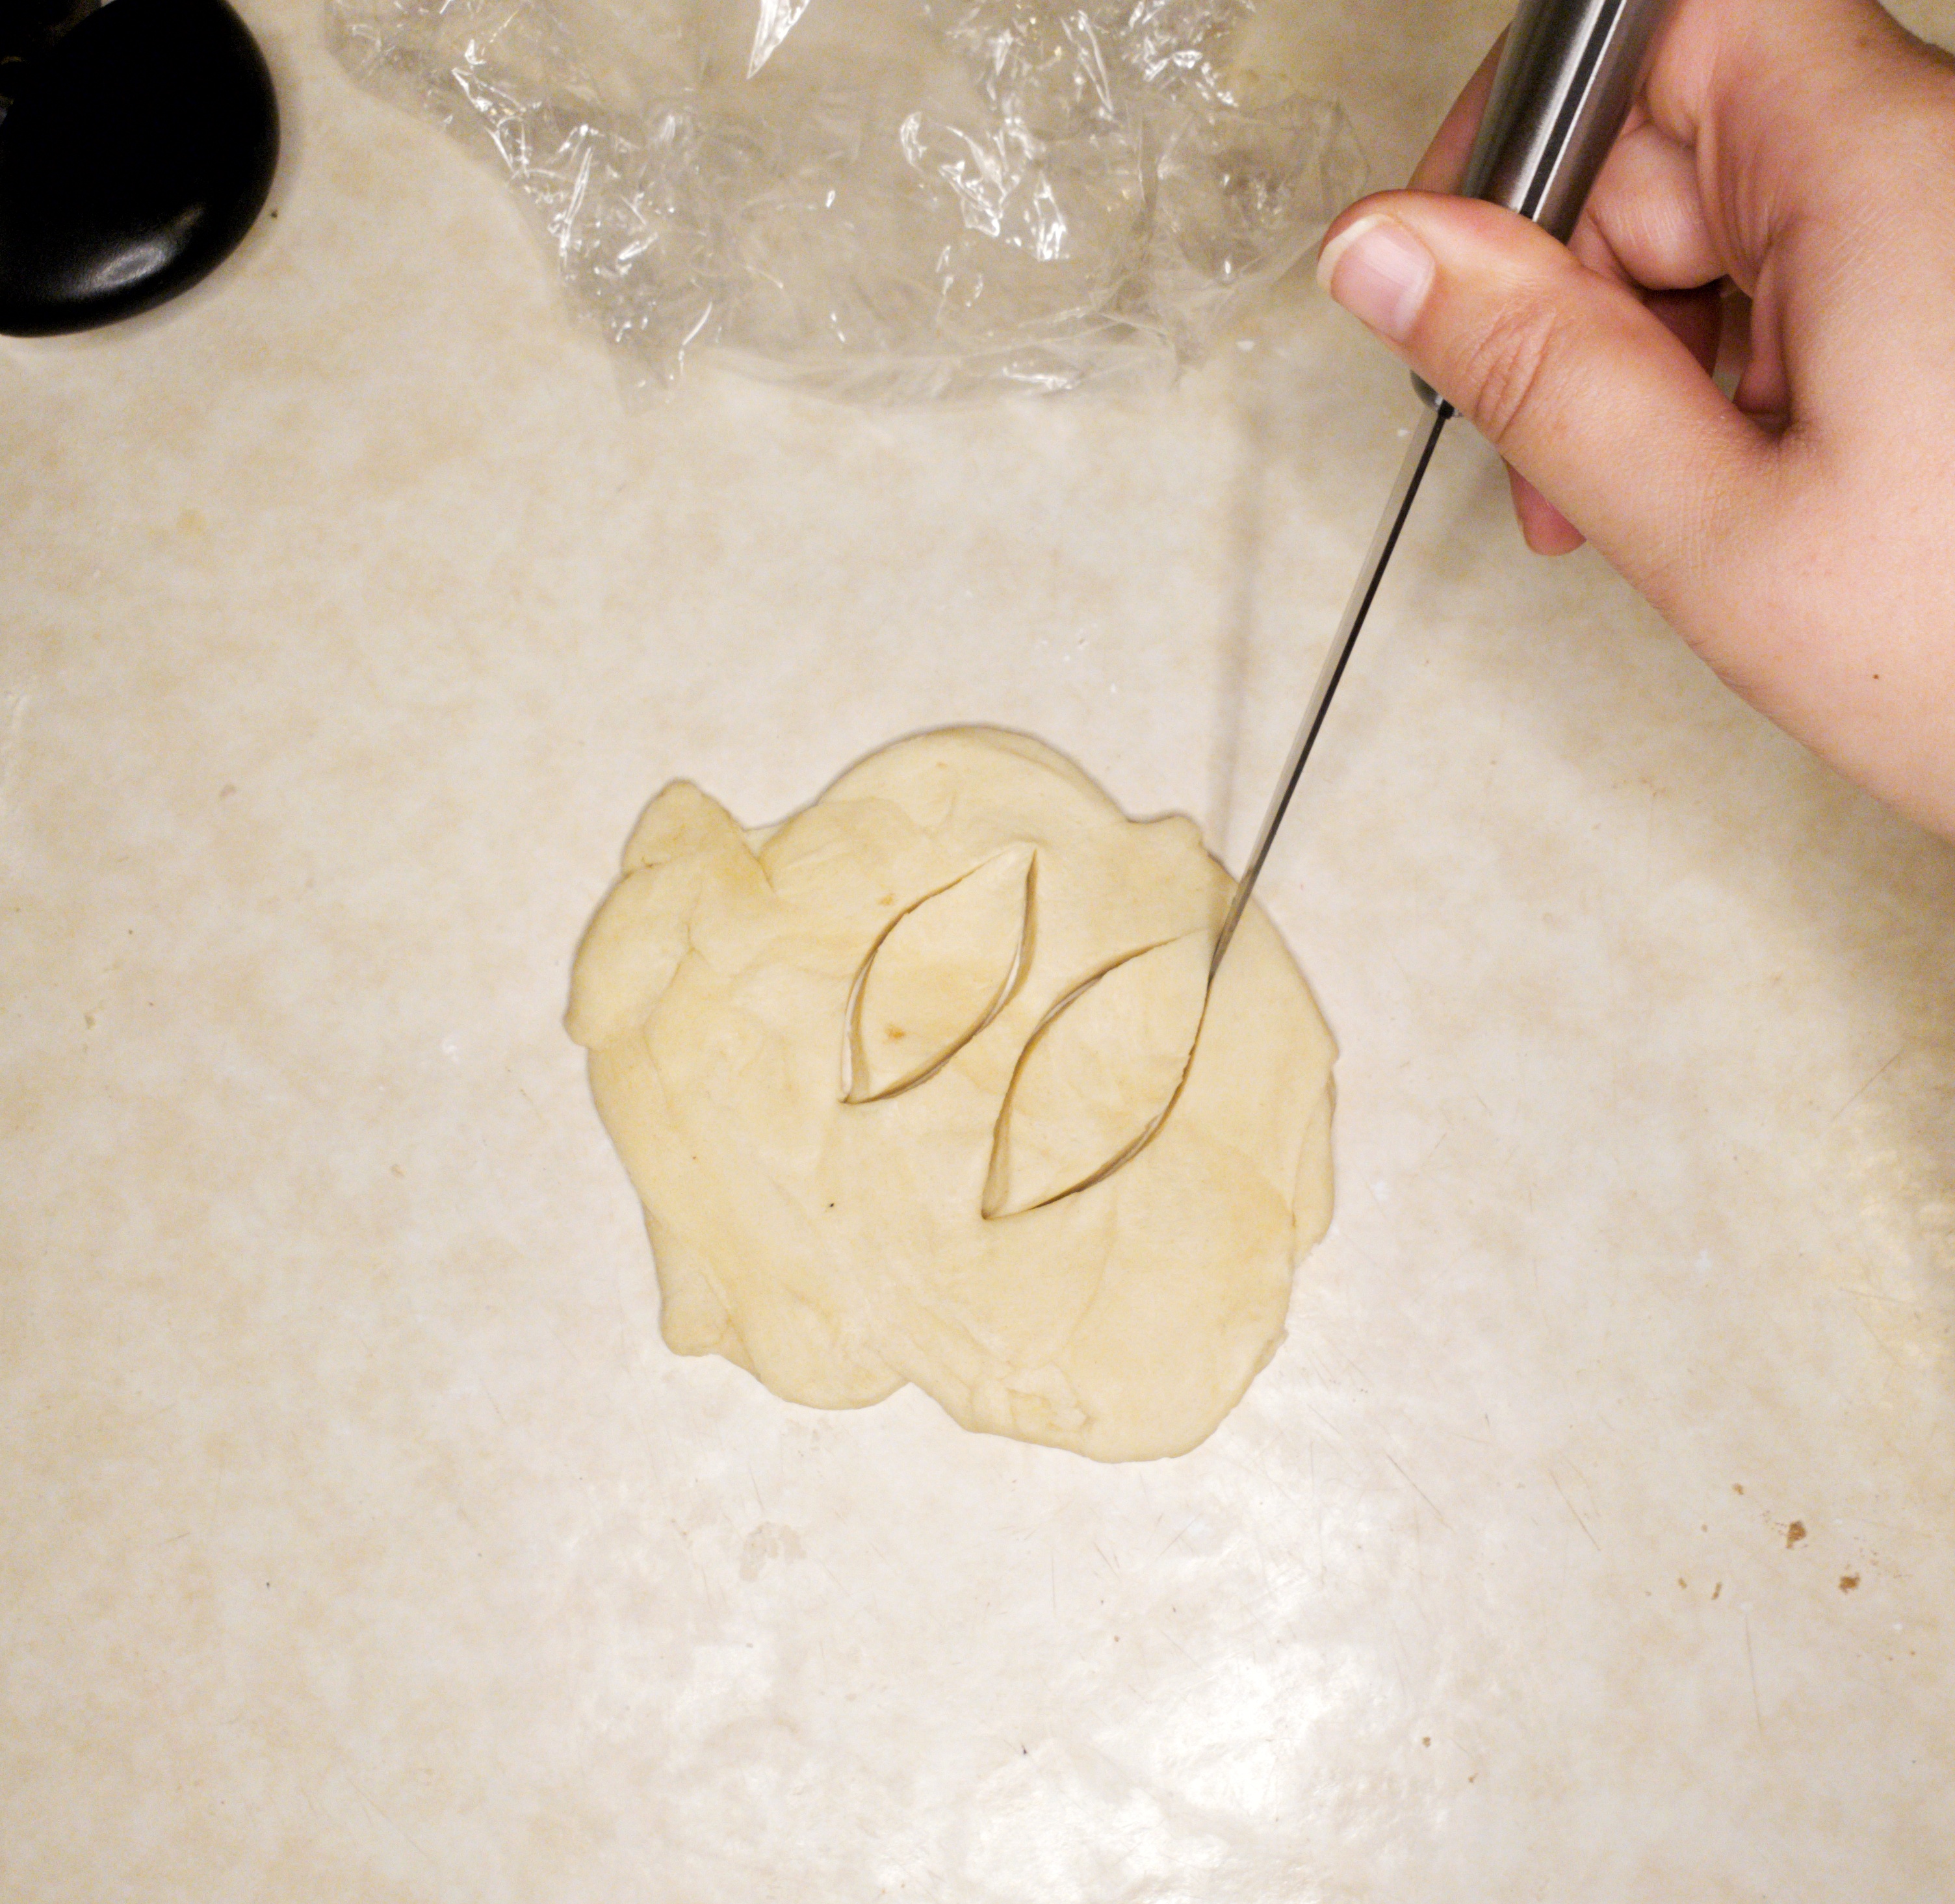
- When I made my leaf decorations, I didn’t place them on the filling while it baked – this is because the filling is quite liquidy before it cooks! So I baked those separately, and pulled them out when they were done, and added them to the pie afterward. If your pieces aren’t too big, you can probably add them to your crust without them sinking into the filling while it bakes.
- To make your own fresh puree, take a sugar pumpkin (these are smaller, and labeled as sugar pie pumpkins typically), and peel it. Cut it into quarters and scrape off any inside seeds and stringy bits with a spoon. You can steam, boil, or bake the pumpkin until very soft, then place into a blender or food processor. I will say, though, steaming or boiling does add water to it, so you will want to squeeze out any added moisture through a mesh strainer or cheesecloth before using. I find boiling or steaming is quicker than roasting the pumpkin, and makes the pumpkin softer, which makes it puree better. Freeze any extra puree for another use, or add a spoonful to your pup’s food!
I hope you enjoy this recipe! Please let me know how it turns out! Have a great Thanksgiving, if you celebrate such things, and stay safe this holiday season! I’ll be skipping posting next week due to the holiday.
Keep it Crafty,
Raven
